
I am so thrilled that Phil and I happened to be free and ran into each other on the flats- I can’t imagine not having these awesome photos. Thanks again, man!
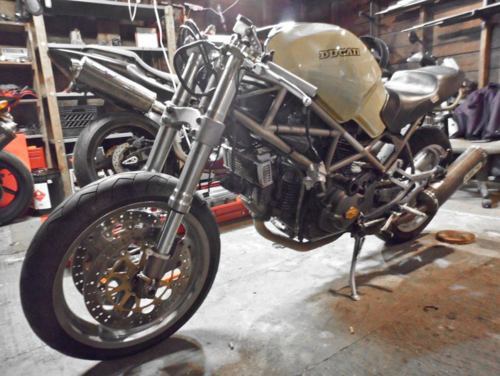
Ladies and Gents, thar she blows. My 1998 Ducati Monster 750 Dark with a Superbike 748 front end on it. The process getting to this point was long, drawn out and annoying. But having adjustable, strong, awesome front shocks is so very worth it.
Take a journey with me through the somewhat painful steps taken to get to this point. There’s gold at the end of the rainbow!
Last you heard of the forks, we were in Phase 6 which involved removing the front end and sending it off to Jeff Yarrington of Saint Motor Company (website) for futzery. The deal is this: 748 triples, forks, and steering stem are all different than those from a 750 Monster. Jeff and crew had to press out the Monster’s steering stem, make an adapter, and put it all back together in the 748 trees.
Here’s some words from Jeff, and pictures of the process.
The goal was to be able to bolt on a more modern 748 front end with better dampening. The stem on the 748 setup is a huge diameter, & the 750 stem is a more traditional size.
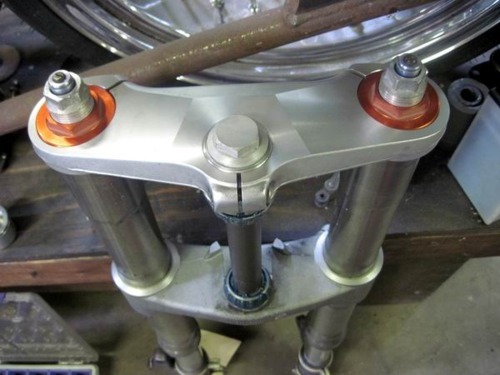
This is where John Leatherman from Draft Cycle Works (website) was needed….a lot. He did his magic & made a thread in adapter for the bottom tree that the 750 stem pressed into. On the top, he made a beautiful spacer with an inverted step so the washer & bolt head would sit in flush. He likes neat & tidy and is very good at it.
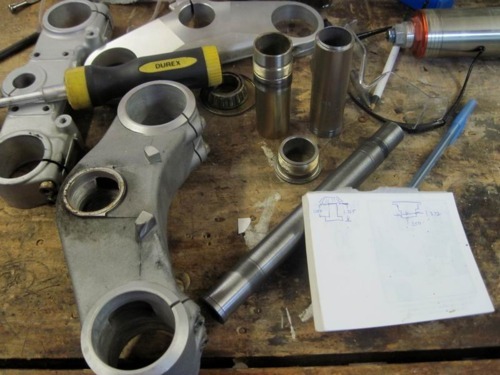
The triples from the 748’s are also way better looking. Win.
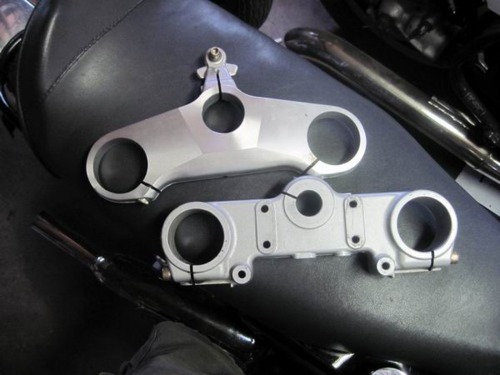
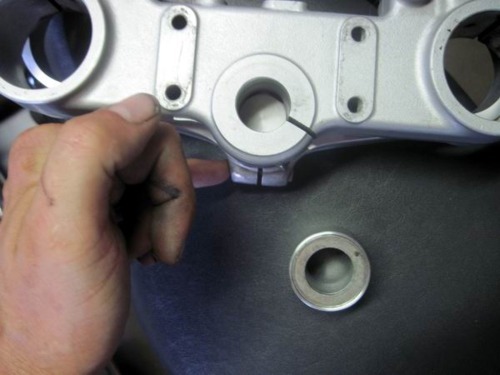
The part with X I need to remove, the remaining bit the thickness of my pinky will remain. This is what will make the ignition switch area on the 750 need a tweak, as the old 750 tree sits a billimeter from the ignition switch.
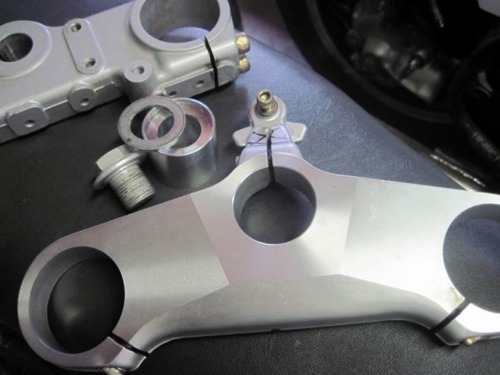
Here is the remaining bit that protrudes past where the original 750 tree went (750 tree sitting on 748 tree in the pic)
Adapter that has 750 Stem, pressed into it, & it threads into the lower tree, red loctite on threads.
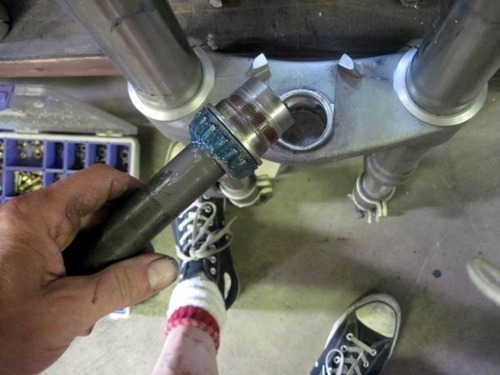
In place as it would be.
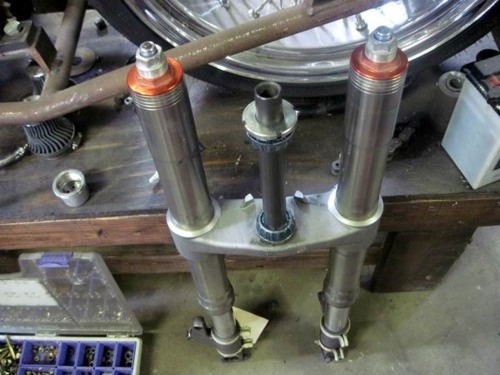
Screw the bolt in. Here you see where I removed the stabilizer mount as well, cut, rounded, polished a hair to look a bit nicer. Bam! Looks factory.
You can see the entire process and photos Jeff took on his Saint Motor Bikes blog.
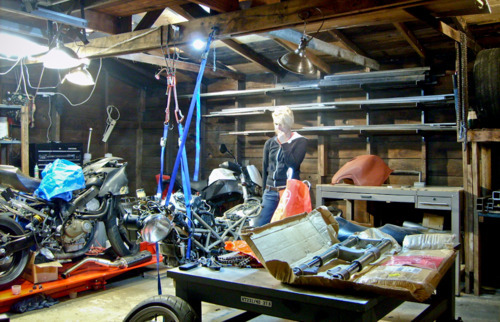
After this point, Jeff sent me the front end via winged package (aka USPS) and right away I went to try them out on the bike. As I’ve learned, there’s always something left that needs to be done (found, cut, fabbed, etc). Here I am staring at the Monster after having not touched it for months, assessing the situation. Forks are in the foreground on the table.
Step one… clean it all up and get her lubed and ready for insertion. [snicker snicker]
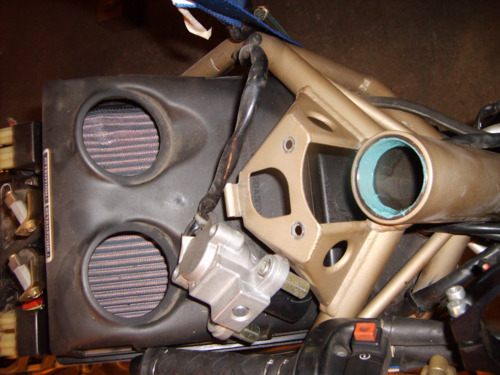
Heath looks positively tickled by this phallic portion of the process. (As he should be.)
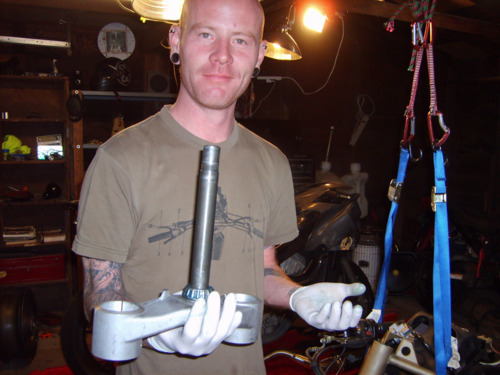
The lower tree works well, looks good. As good as it can on pieces of a bike.
We don’t have a spanner wrench so we have to improvise. I wouldn’t suggest doing this… especially not to a Ducati. It’s expensive and silly not to have the right tools. I however couldn’t locate one during the day so decided fuck it, let’s MacGuyver some shit.
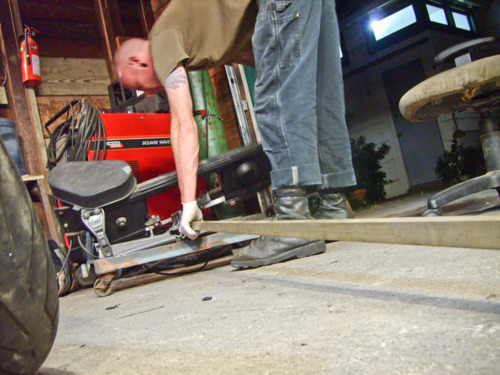
Give it a little tap tap, tapperoo…
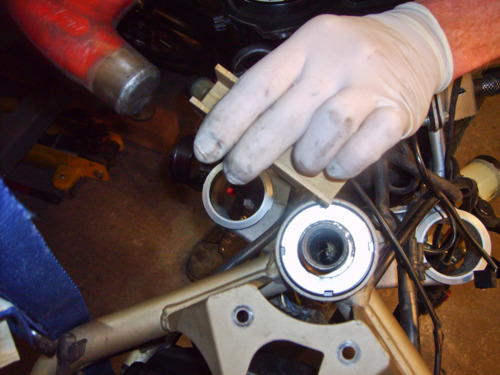
And yes, it is very nice. Again, as nice as it could be in this state.
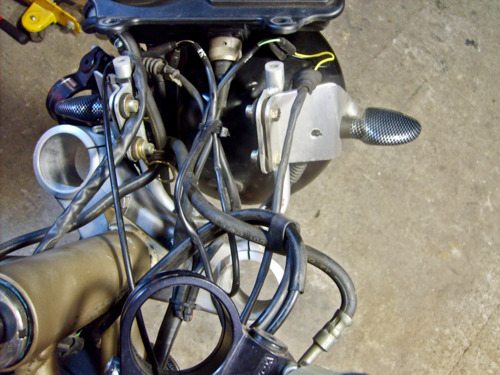
Putting the other pieces in place just to see…
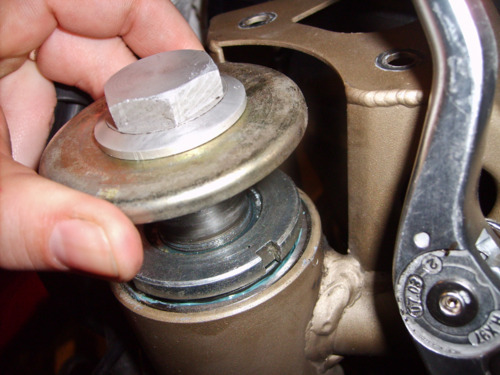
Steering stops are… doing their job too well.
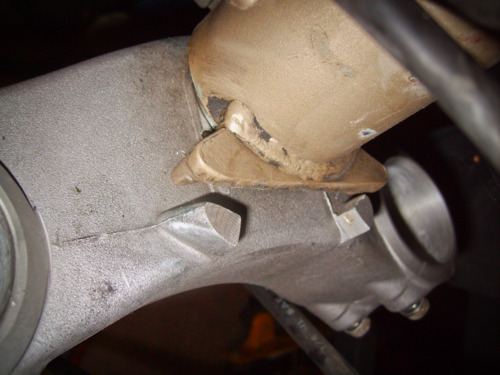
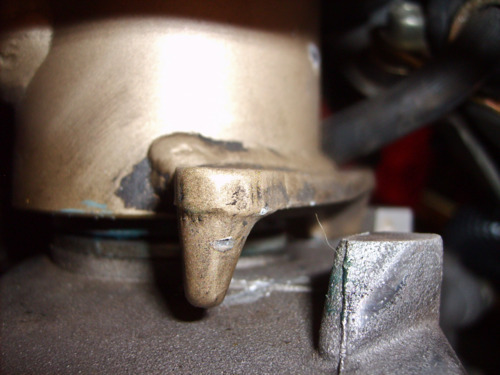
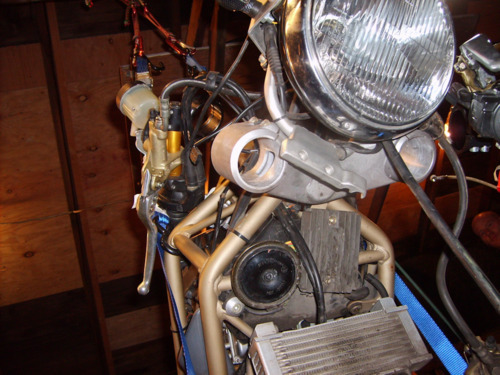
At this point we put on the top triple tree and voila, front end is on! It can’t be steered right or left… but at least it’s all attached. I posted this teaser photo to show what it looked like at this stage.
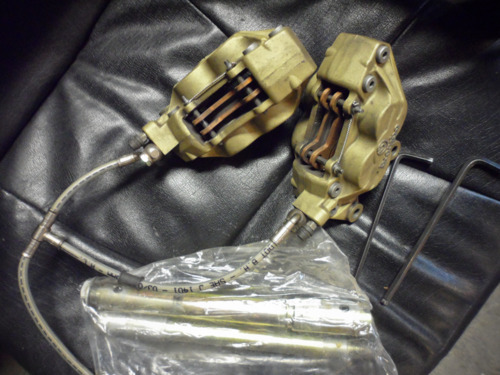
A bunch of my stupid all hit me at once: I picked up the old clip ons for reattachment and realized… oh yeah, these forks are a different diameter. These bars ain’t gon’ werk. Fuuuuuu— okay. Time to figure out what kind of riding position I want and get new ones. The caliper mounting bolt spacing is different for the brakes (the two I got are now worthless) and I don’t have the 748 axle so I can’t try out the front wheel. Nice.
We called it a day and decided to reconvene after a few steps were completed: I found new clip ons, located the 748 axle bolt (kind of crucial at this point in the process), and located the right size calipers.
Step one complete! Master tech AJ Ralston at MotoCorsa (my work) happened to have the calipers I needed laying around. Finding the axle was easy, since I’m meticulously keeping all the Monster parts in one place.
Step two, clip ons, complete! A friend of mine had just taken the stock clip ons off his 748, so I decided to try them out. I thought the positioning would be all wrong, but they were perfect!
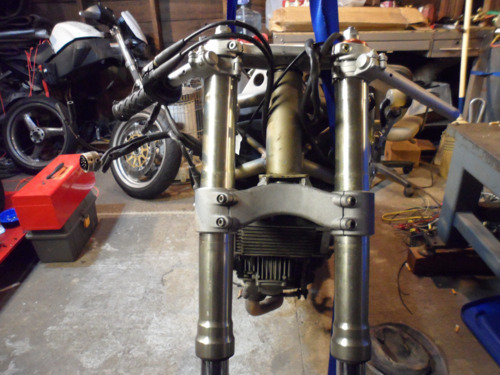
It is so nice to have something that is “plug and play” for once. Being all from the same bike, they worked so flawlessly together…
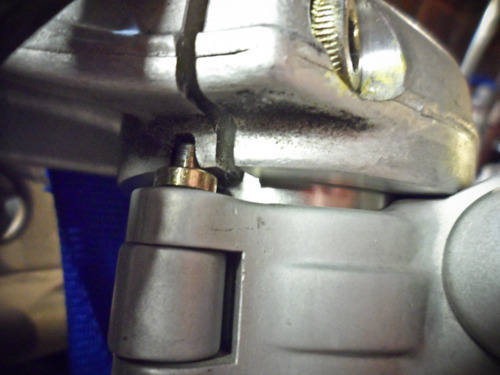
It was time to cut off those darned steering stops. It had been decided to cut it off the frame and reattach one center stop.
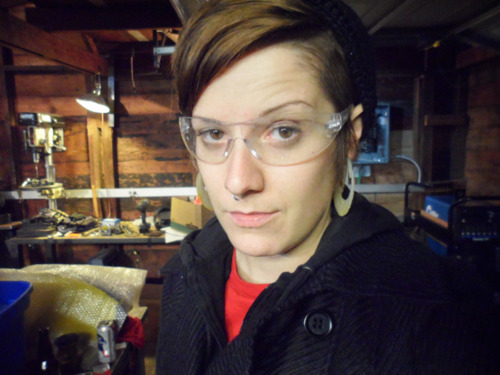
Heath Knapp grinds delicately with a dremmel. Why? Uh, because we had little other options at the time.
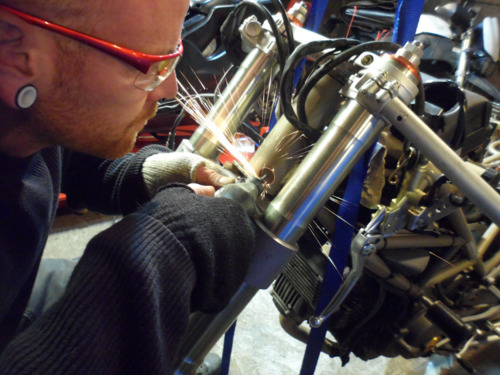
And because it looks awesome.
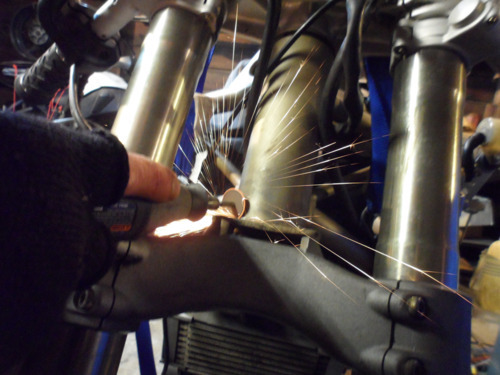
As to not cut into the frame, a shallow cut is made.
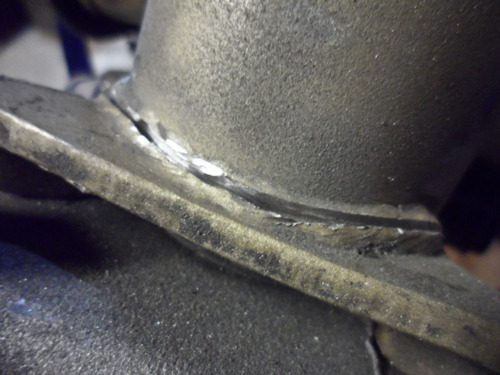
And then ze tapping begins!

And the prying.
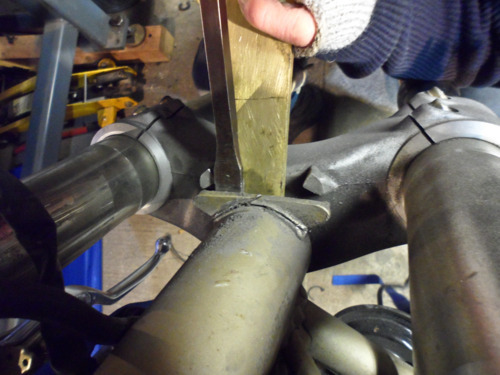
After doing this for way too long, I pull the emergency break and just take it all apart again so there’s nothing in the way. (This was one of those DUH moments.)
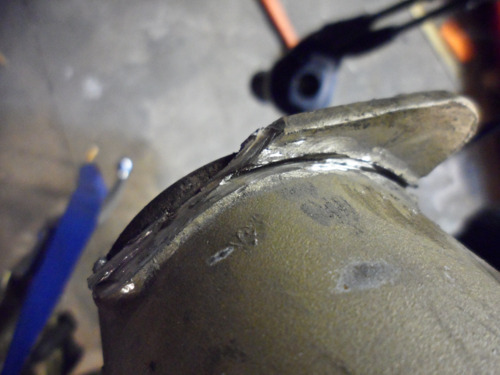
Grinding that cut deeper into the other side so we can hammer it off.
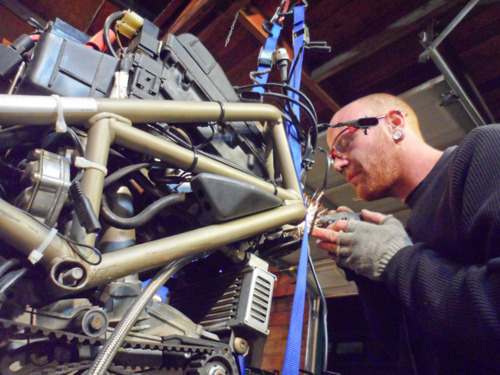
It is done. Heath is still annoyed, but happy. Observe.
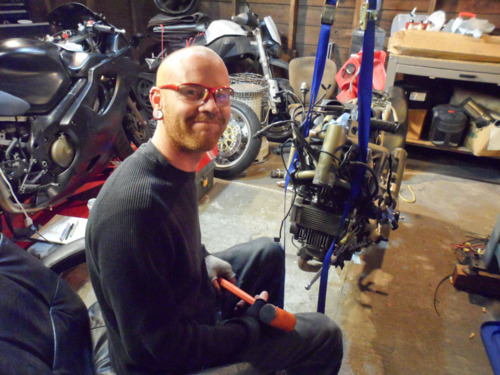
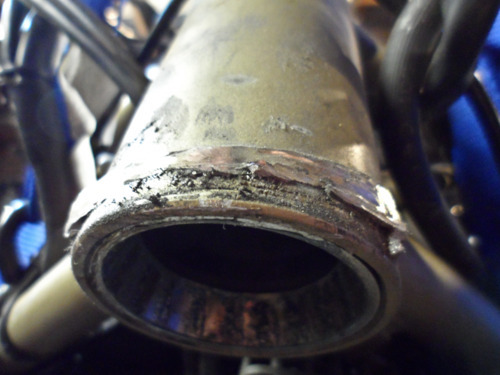
Got the frame a little, which will be fixed. But not bad, not bad.
Time to prepare ze wheel!
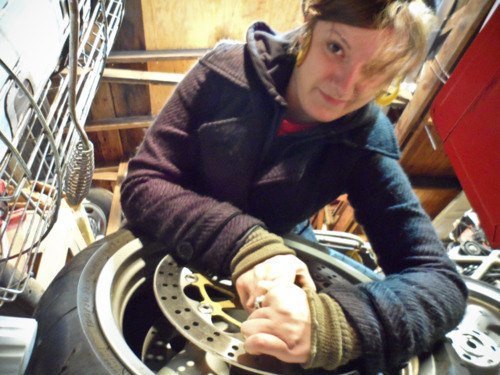
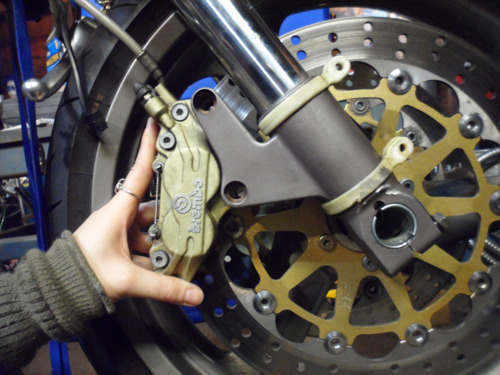
All put together double checking the calipers AJ gave me, because I’ve finally learned my lesson. But hey, they’re perfect! While putting it all together I again find I’m missing a key component. The speedo drive or spacer for the axle. It’s not going to be rolled very far, so we put it together anyway.
All together now, but hanging from the ceiling… Roar!
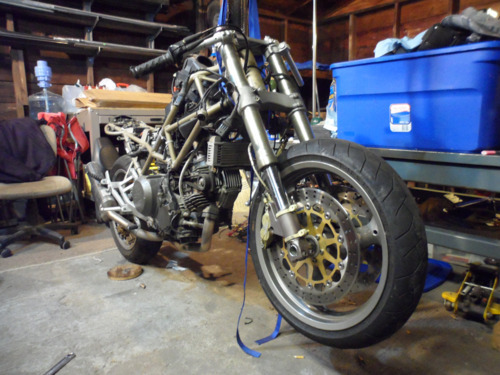
Put on the loaner tank Quentin Wilson lent me (thank you!) which really gives you the wrong idea about the entire look I’m going for with it’s vibrant color.
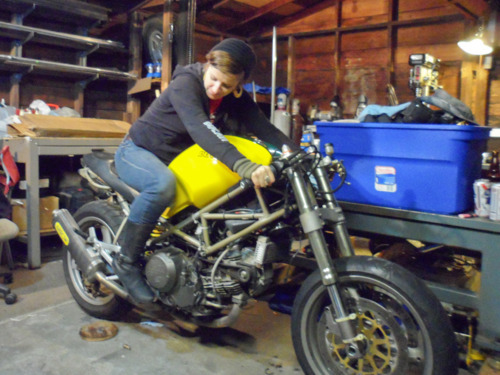
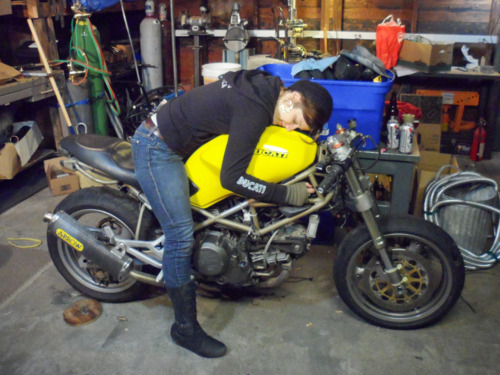
Regardless of all the foibles (missing axle bolt, not having a steering stop), this is the FIRST TIME I’ve sat on my motorcycle in months. It was in shambles, tied to the rafters with no front end at all! I am beyond psyched that it’s finally taking shape.

With or without my tank, I was so happy that I hugged it for a minute.
In order to let you imagine more accurately what it will look like, I’ve done a little clever photoshoppin’ to make it an ivory color like my tank is, as seen in the teaser photo of Chris doing some gold leaf magic. The logo will be the stylized retro ducati logo as you can see at the end of Phase 8.
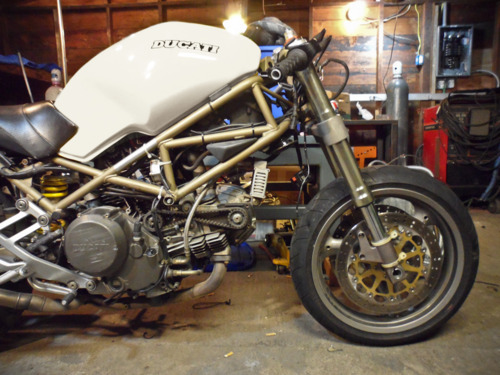
Handlebars angle well and blend in (but won’t when I’m done with them).
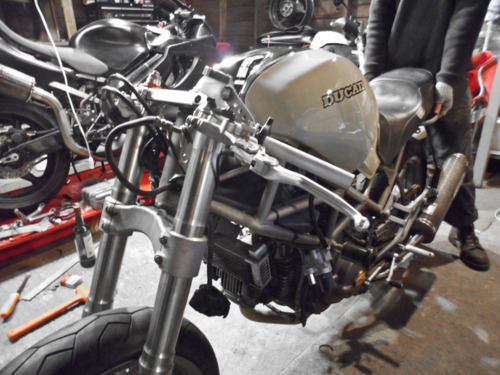
Looks like it has angry red eyeballs glaring at you. So cute, yet so mean.
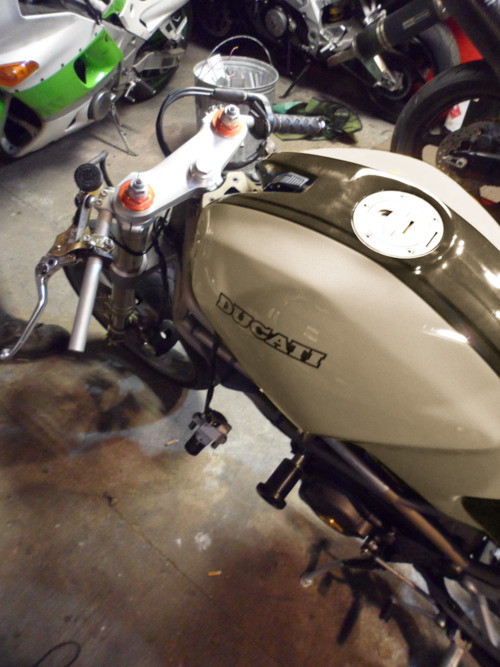
The angle of the clip ons means they won’t hit my tank. But still, a little shaving must be done on the right side of the ignition mount that attaches to the frame because the top tree rubs there. Also, the ignition will need to be milled down so that it no longer has a steering lock, for there is nothing it can slide into on the 748 trees.
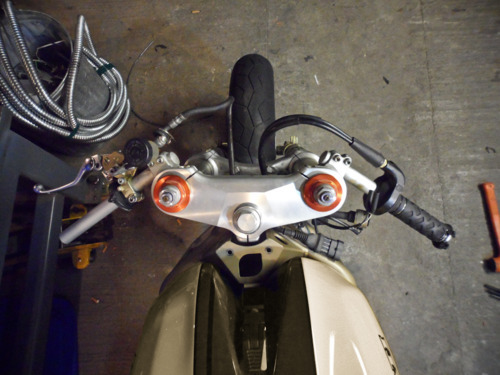
Now for custom exhaust, new grips, powder coat the frame and wheels, figure out my front signal and mirror configuration, get black vinyl for the front forks, anodize nearly everything I can, new rear sets, get my tank back, comepletely new seat… Oh god I better stop before I feel faint.
Posted on November 4, 2011 in Blog, Motorcycles by Alicia Mariah Elfving