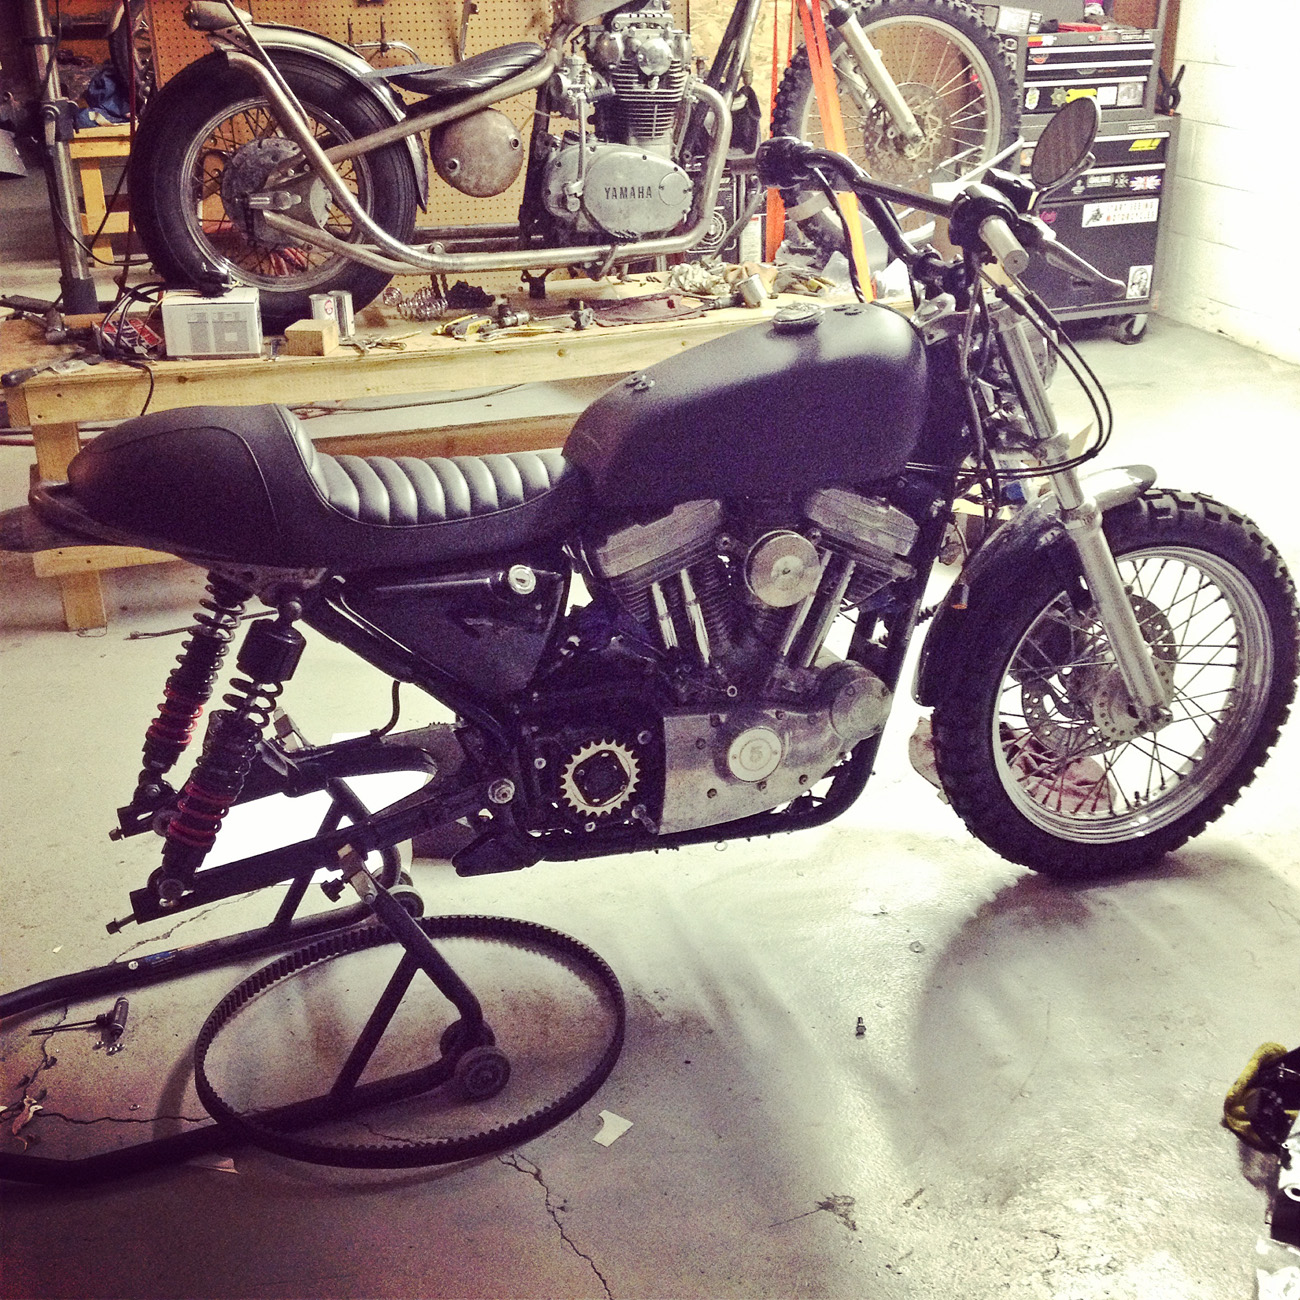
Trying to keep track of all the stuff that gets done on the DualSporty is like trying to remember what I had for dinner on wednesday the week before last… very unlikely. So I take pictures (of the work, not my dinner) and try to sort it all out at a later date.
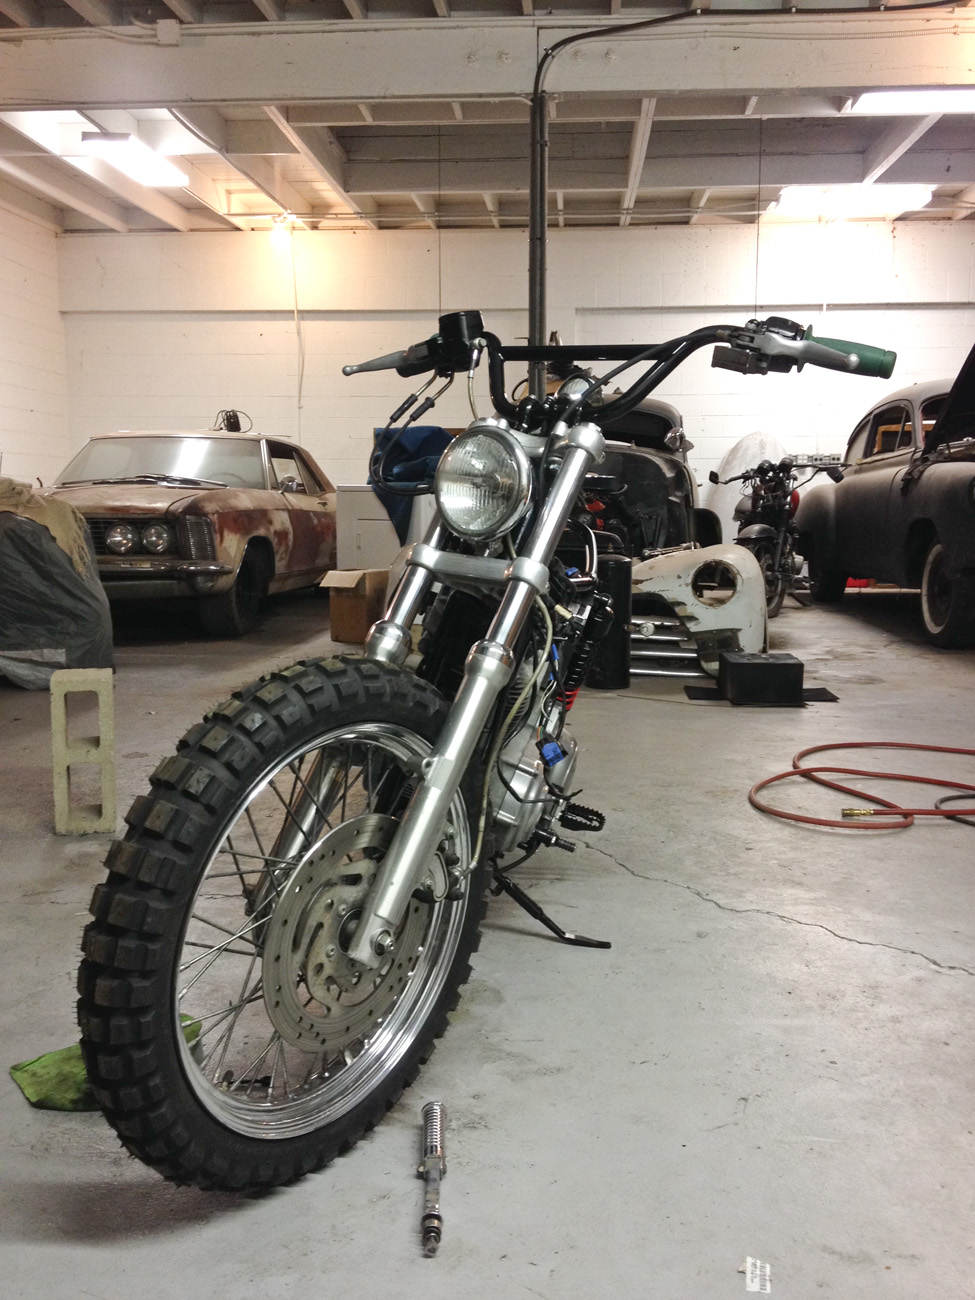
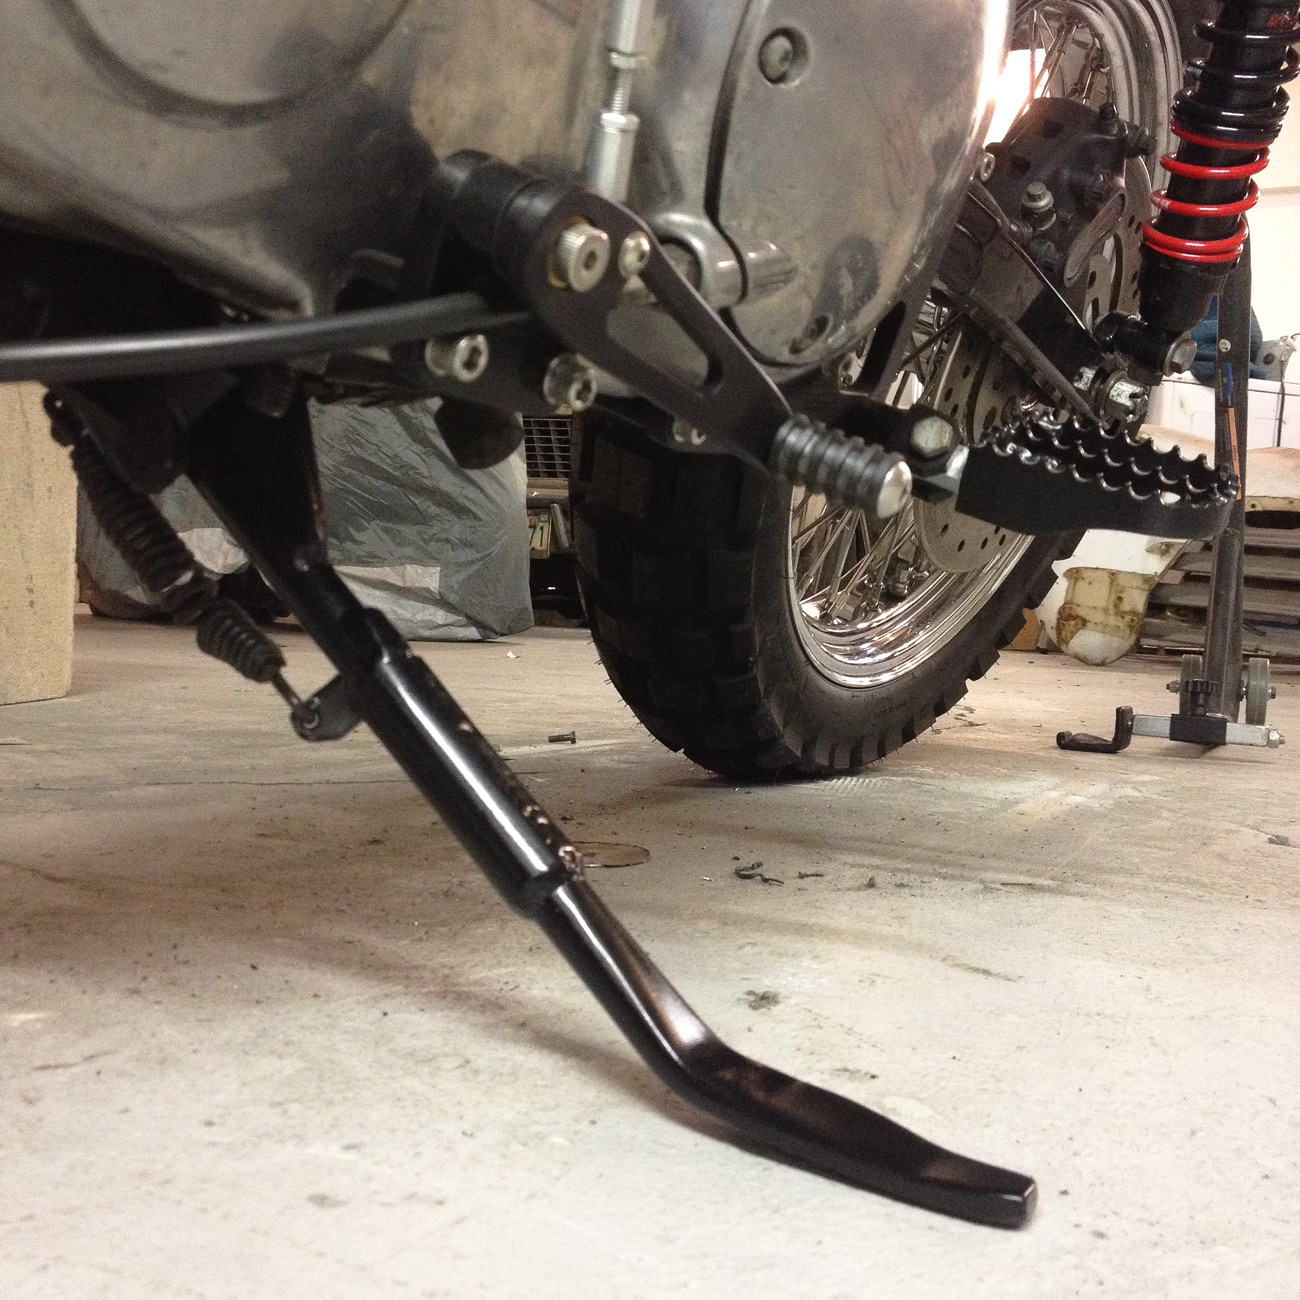
One of the more important things I want to mention is if you choose to raise your bike rather than lower it, like I did to the DualSporty with Burly Brand 15″ stiletto shocks, you’re going to have to compensate for that height elsewhere. The belt will need a tensioner, and you’ll need a longer kickstand. Burly chose to add some height to the base of their stand, calling it the “high heel” kickstand. Wolf and I decided to lengthen the existing kickstand with some extra tubing around the outside to strengthen it. We added two inches, bringing it back to nearly the original lean angle (rather than the heavy 45° angle as before).
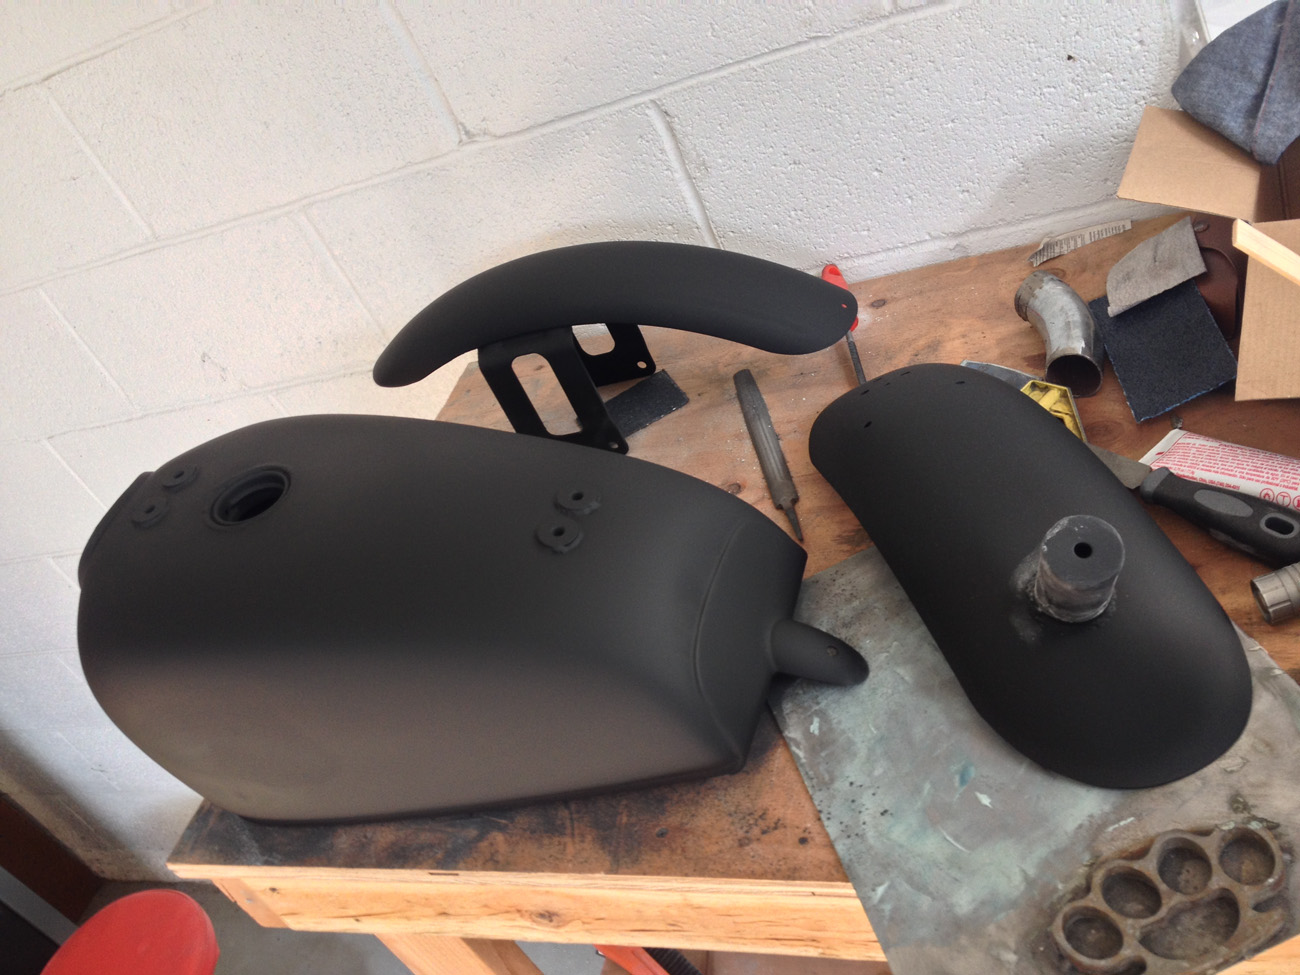
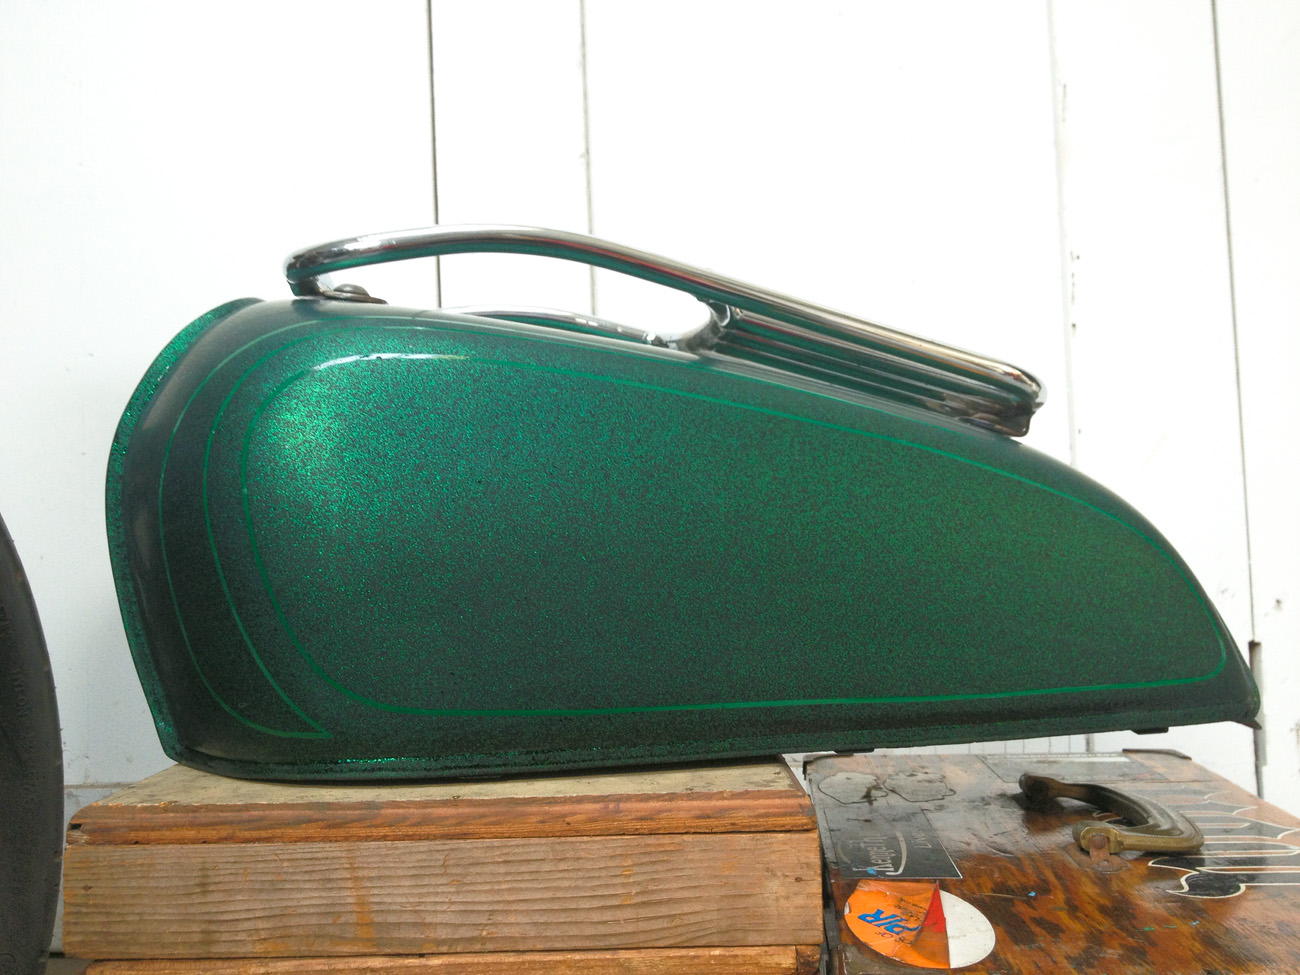
So, I’ve already posted about the metal work that went into customizing the Honda tank, and the metal flake paint job treatment. But I totally skipped over all the body work Wolf did to make them perfectly smooth before paint.
The rear frame hoop got finished up and painted to match the frame.
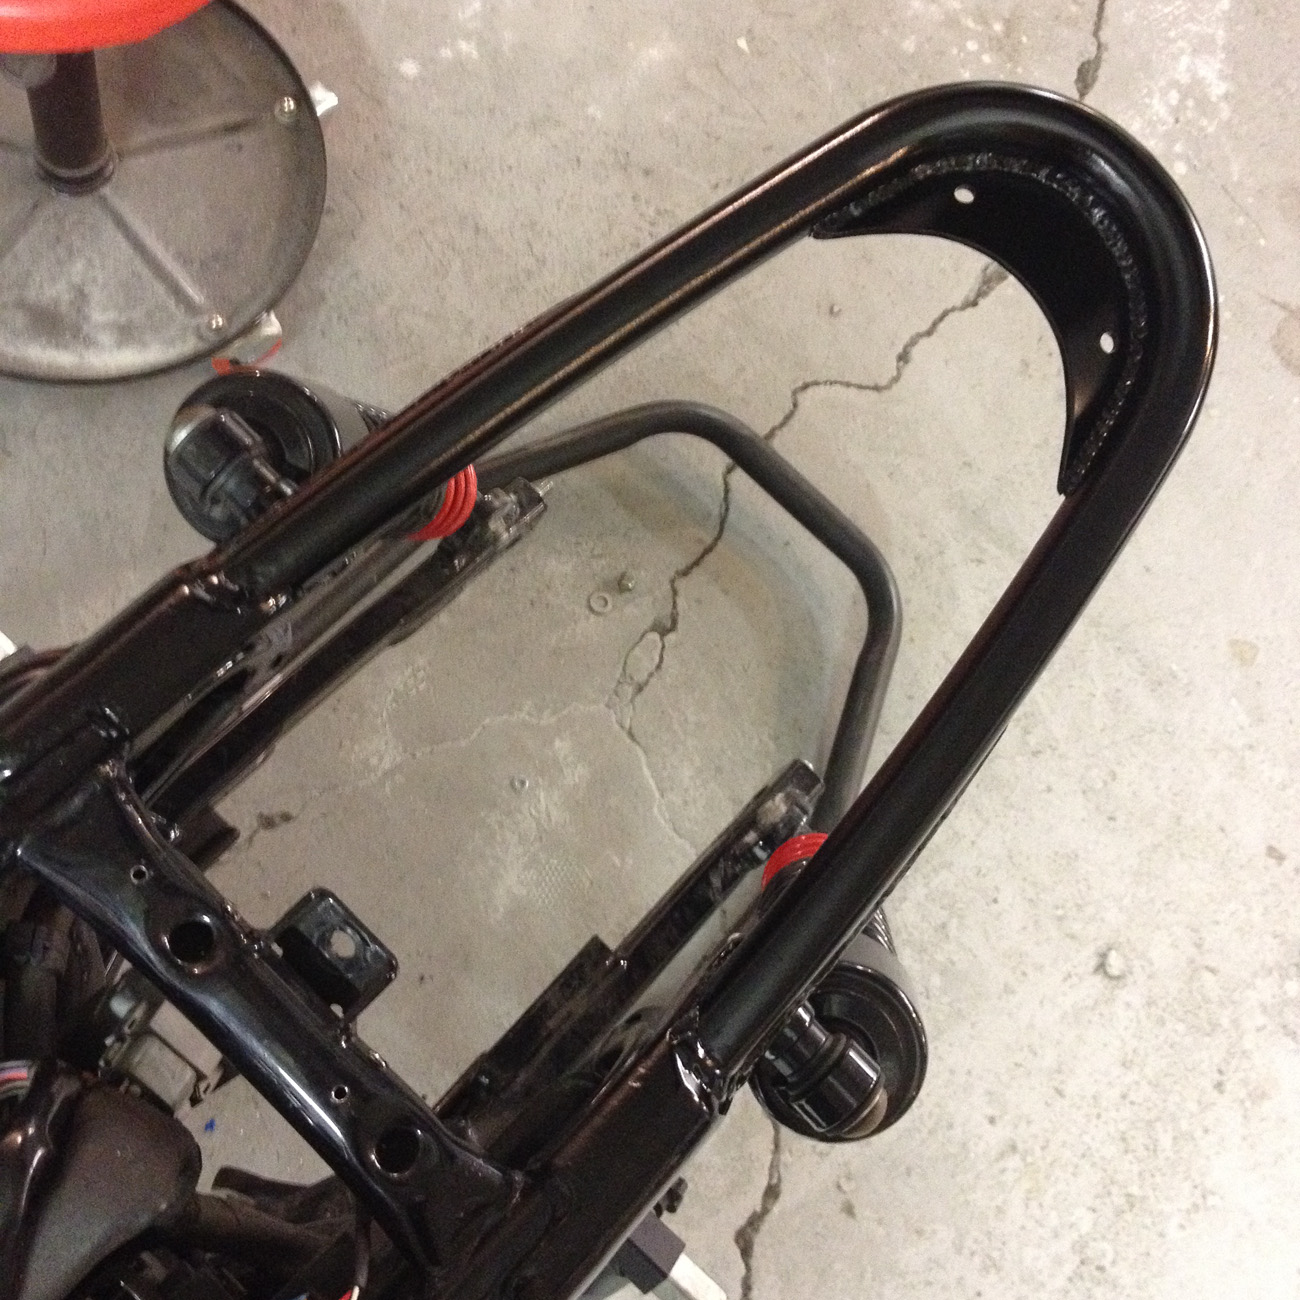
We modified the frame for the stock Honda tank mounts and painted them to match. I also relocated the ignition from the right to left side for spacing reasons.
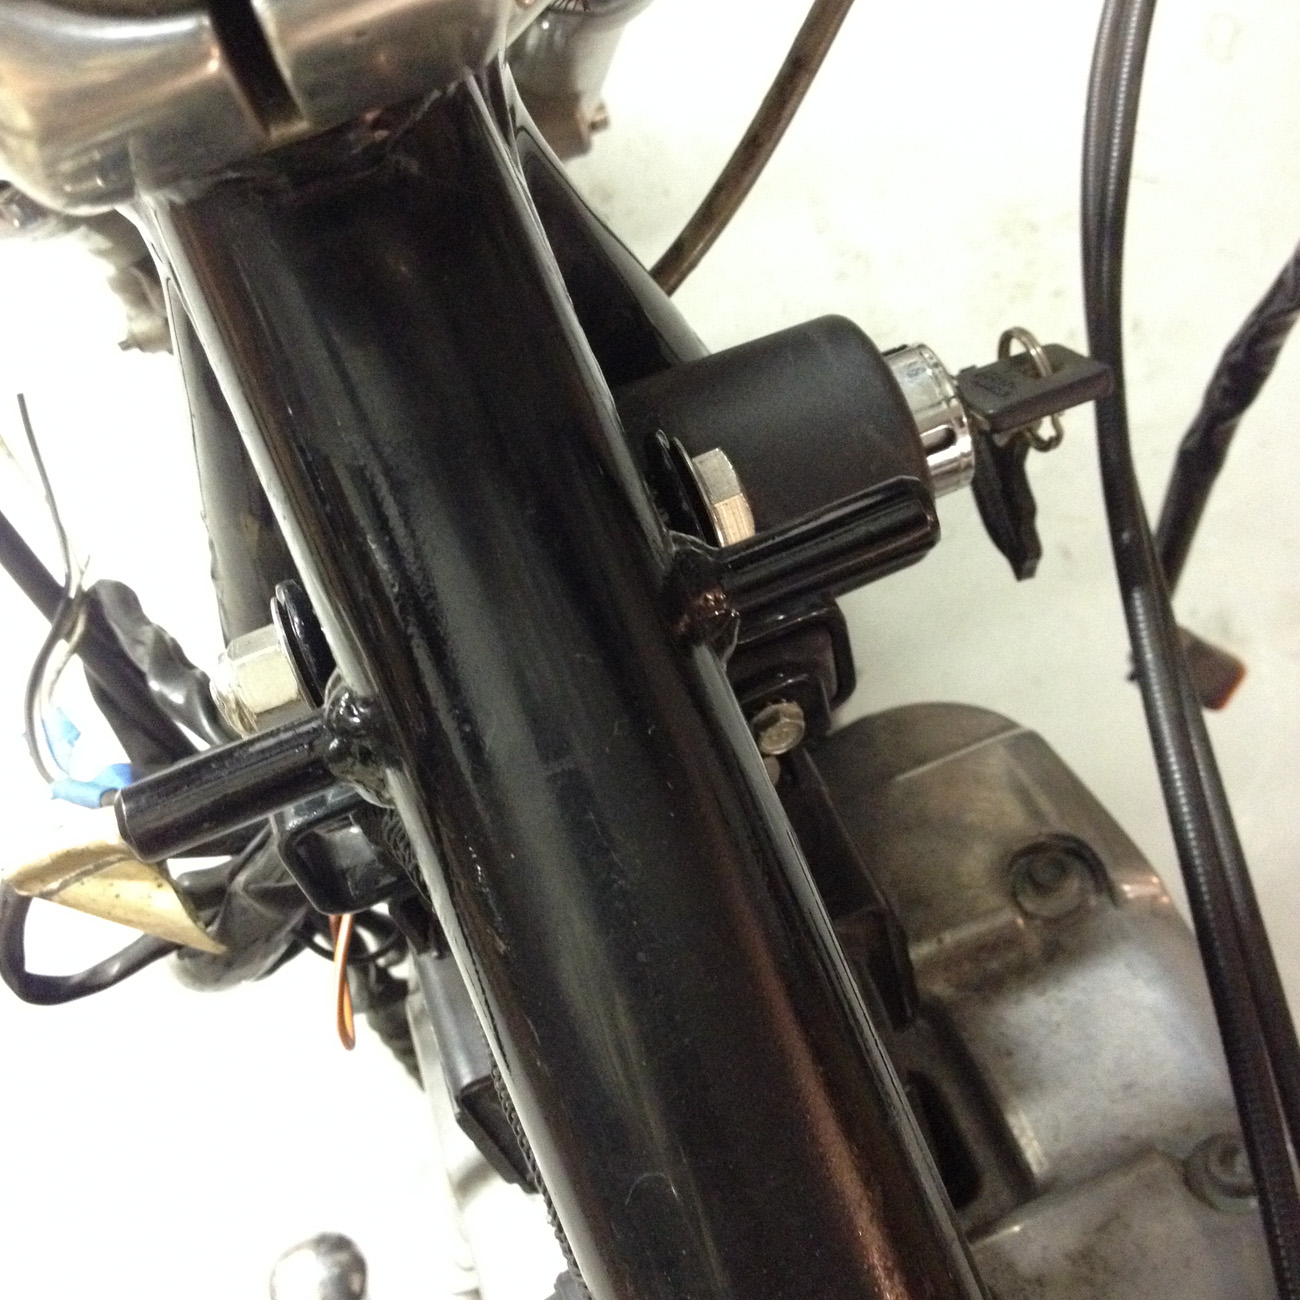
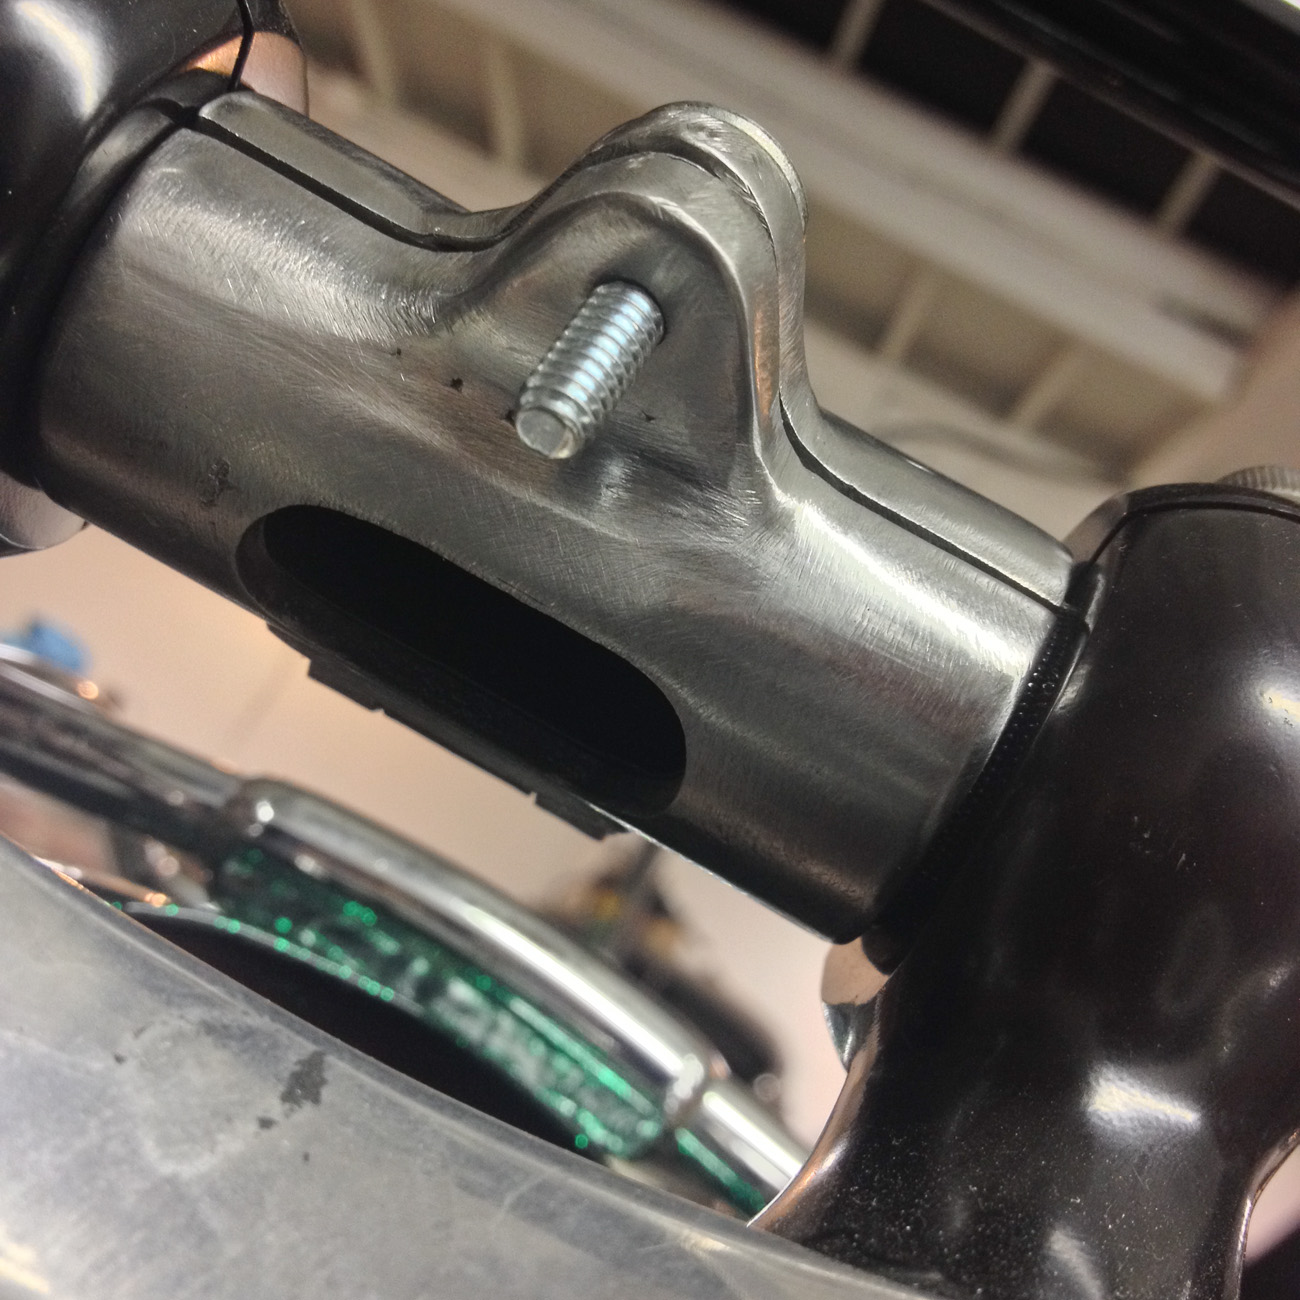
One of the coolest pieces of the whole bike, to me, is the little speedo bracket Wolf made out of scraps. The Burly Brand scrambler bars have holes for running the wires internally, so we made sure the bracket would fit in the same center space between the risers but still allow for wiring to pass through.
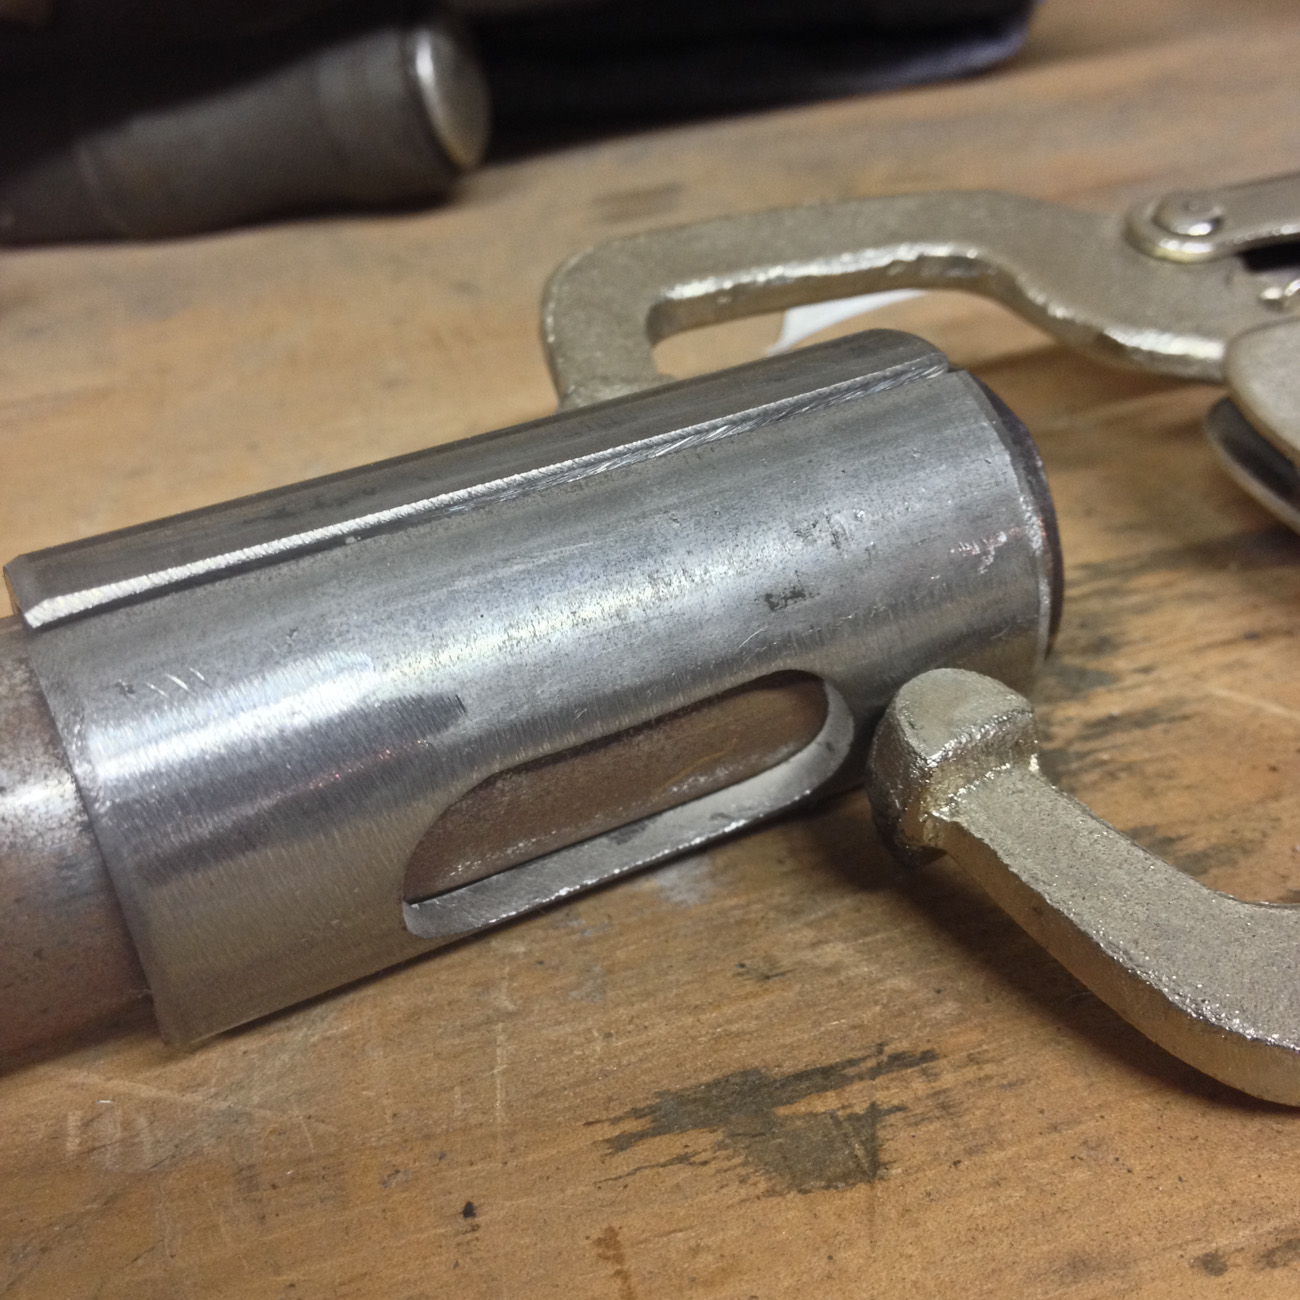
It was just this simple piece of tubing with a hole drilled through it one minute, and the next time I came out, it had been transformed into this super cool bracket.
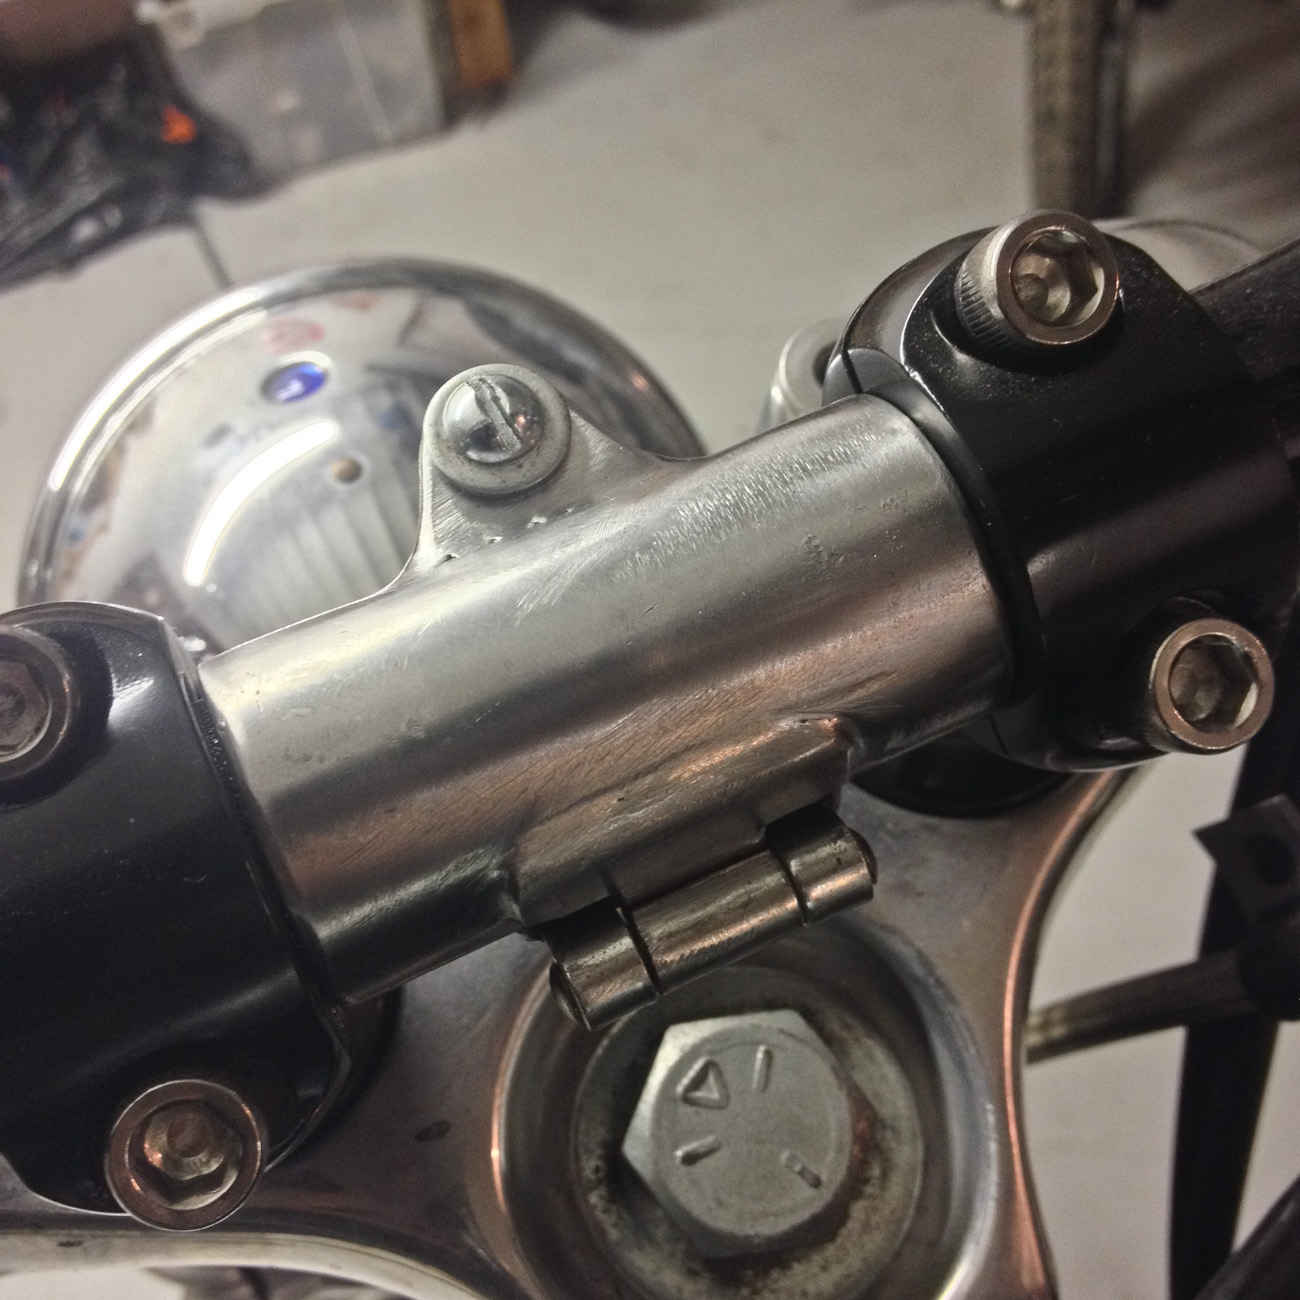
The hinge was scavenged from some random piece we had lying around the shop, and would be hidden by the piece of metal that comes out to brace the Acewell digital speedo/tach.
Once painted, it fits flawlessly between the Biltwell Slimline risers.
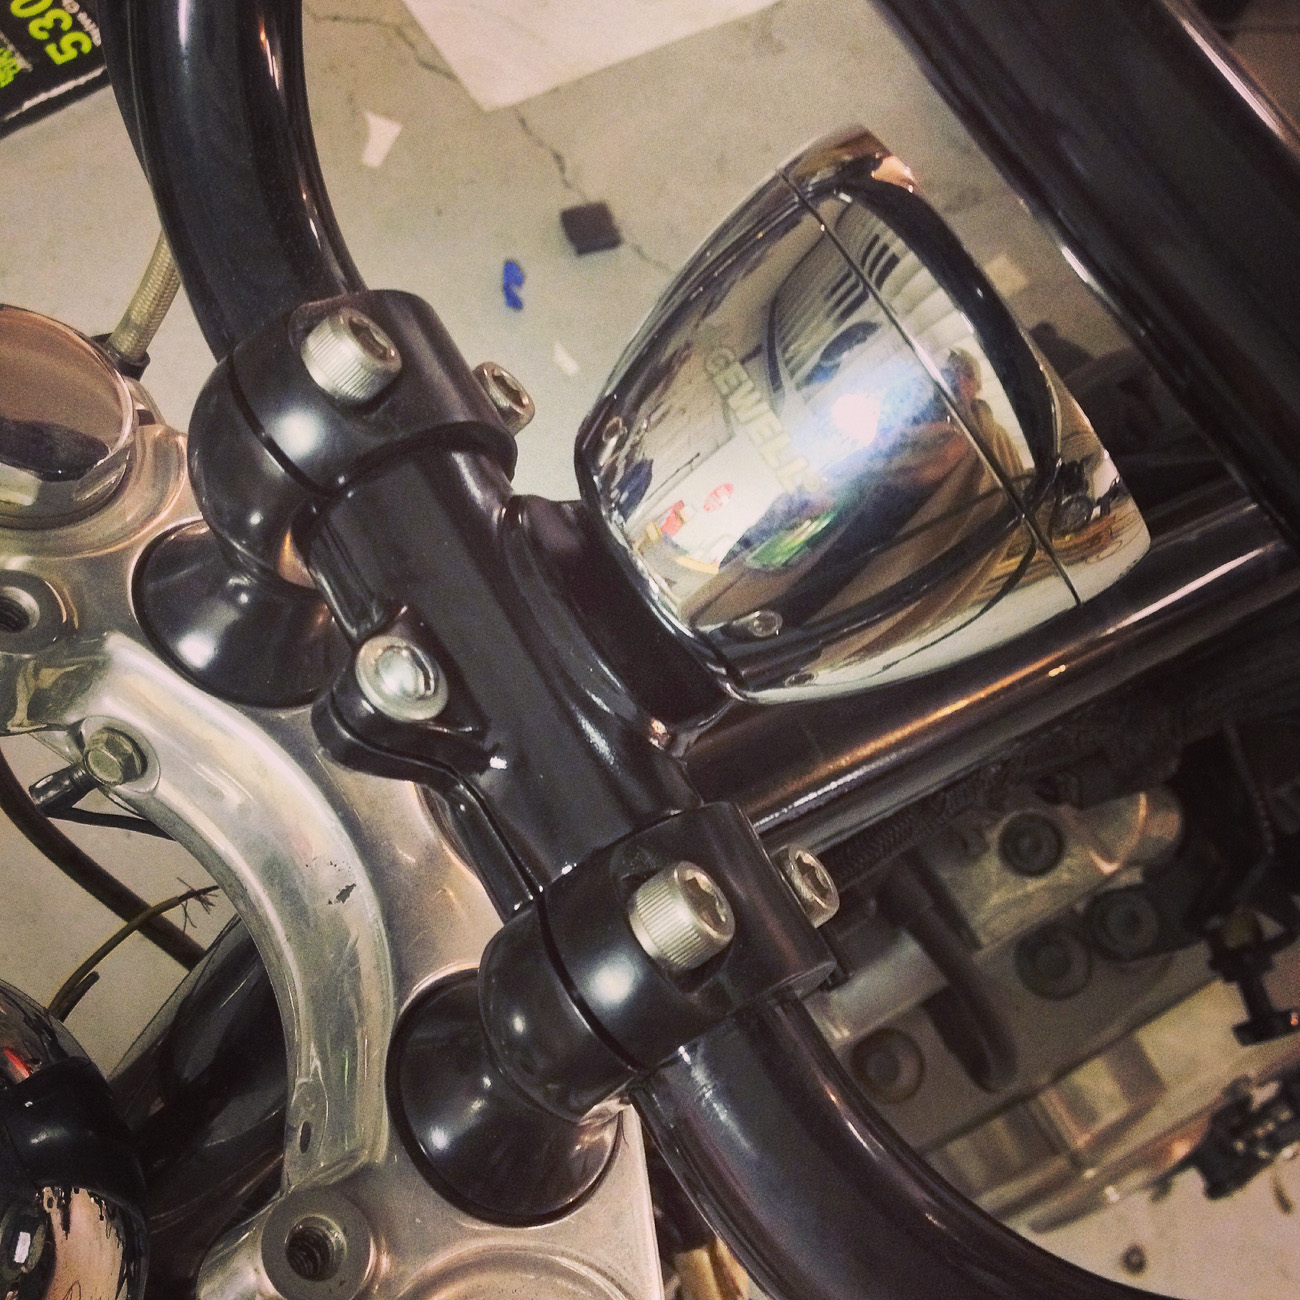
Pretty amazing what Wolf can make out of some pieces of scrap metal.
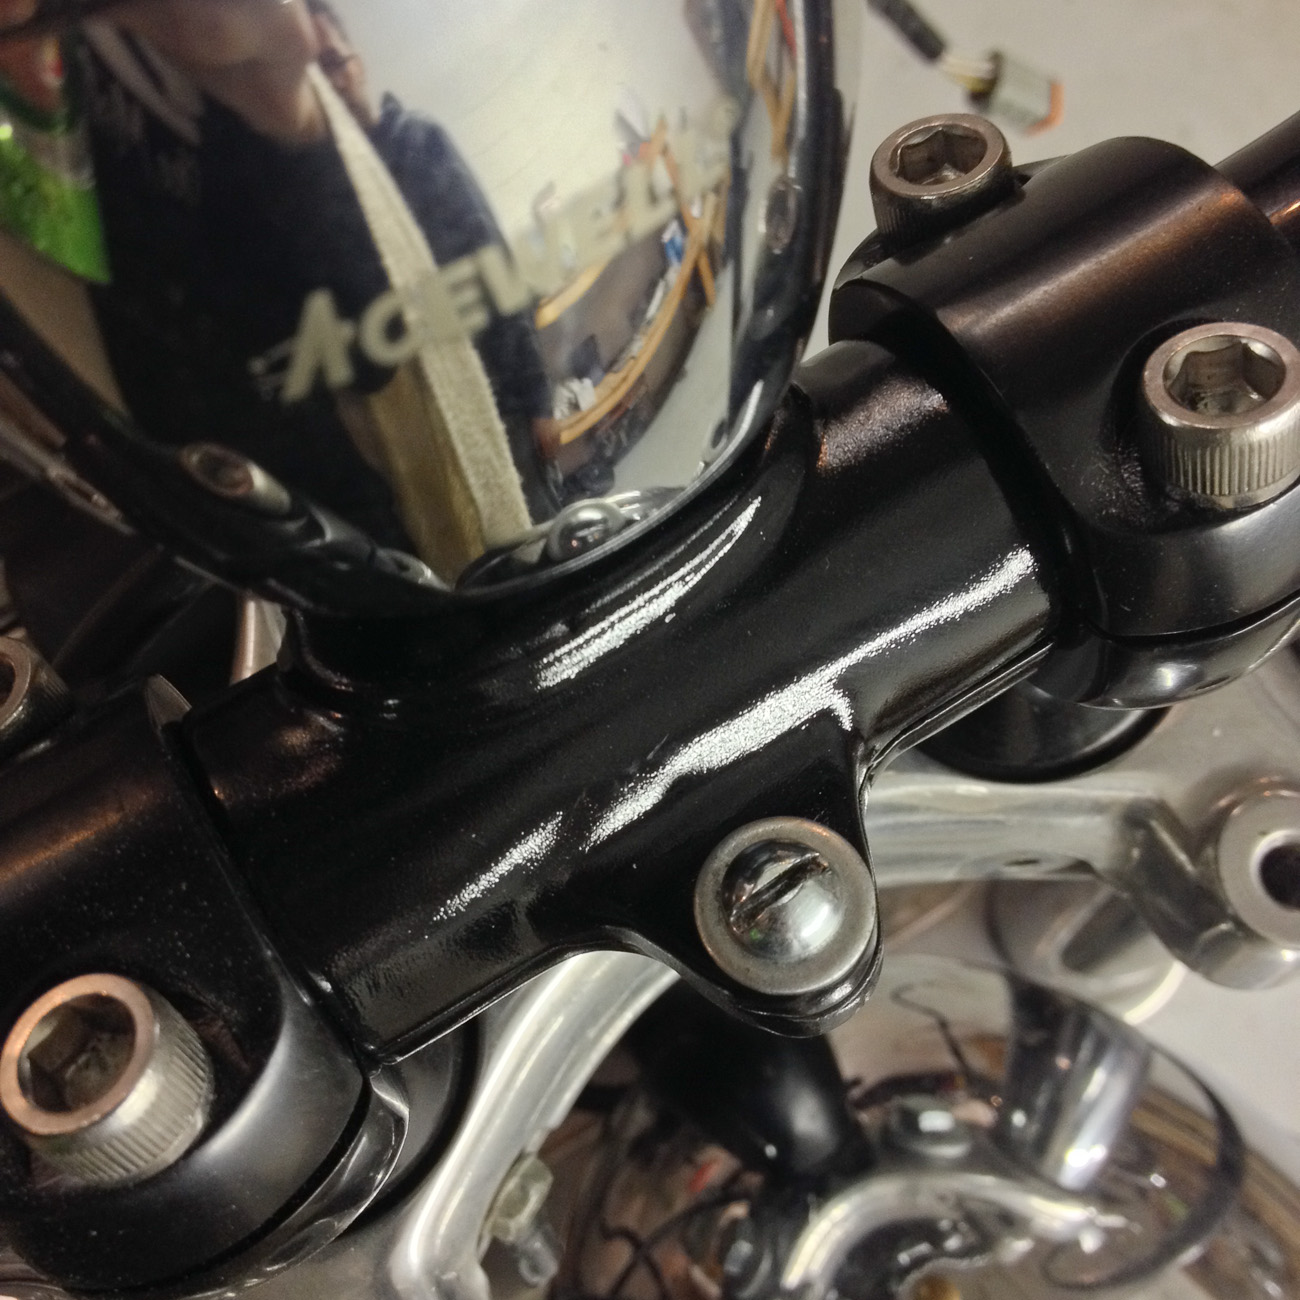
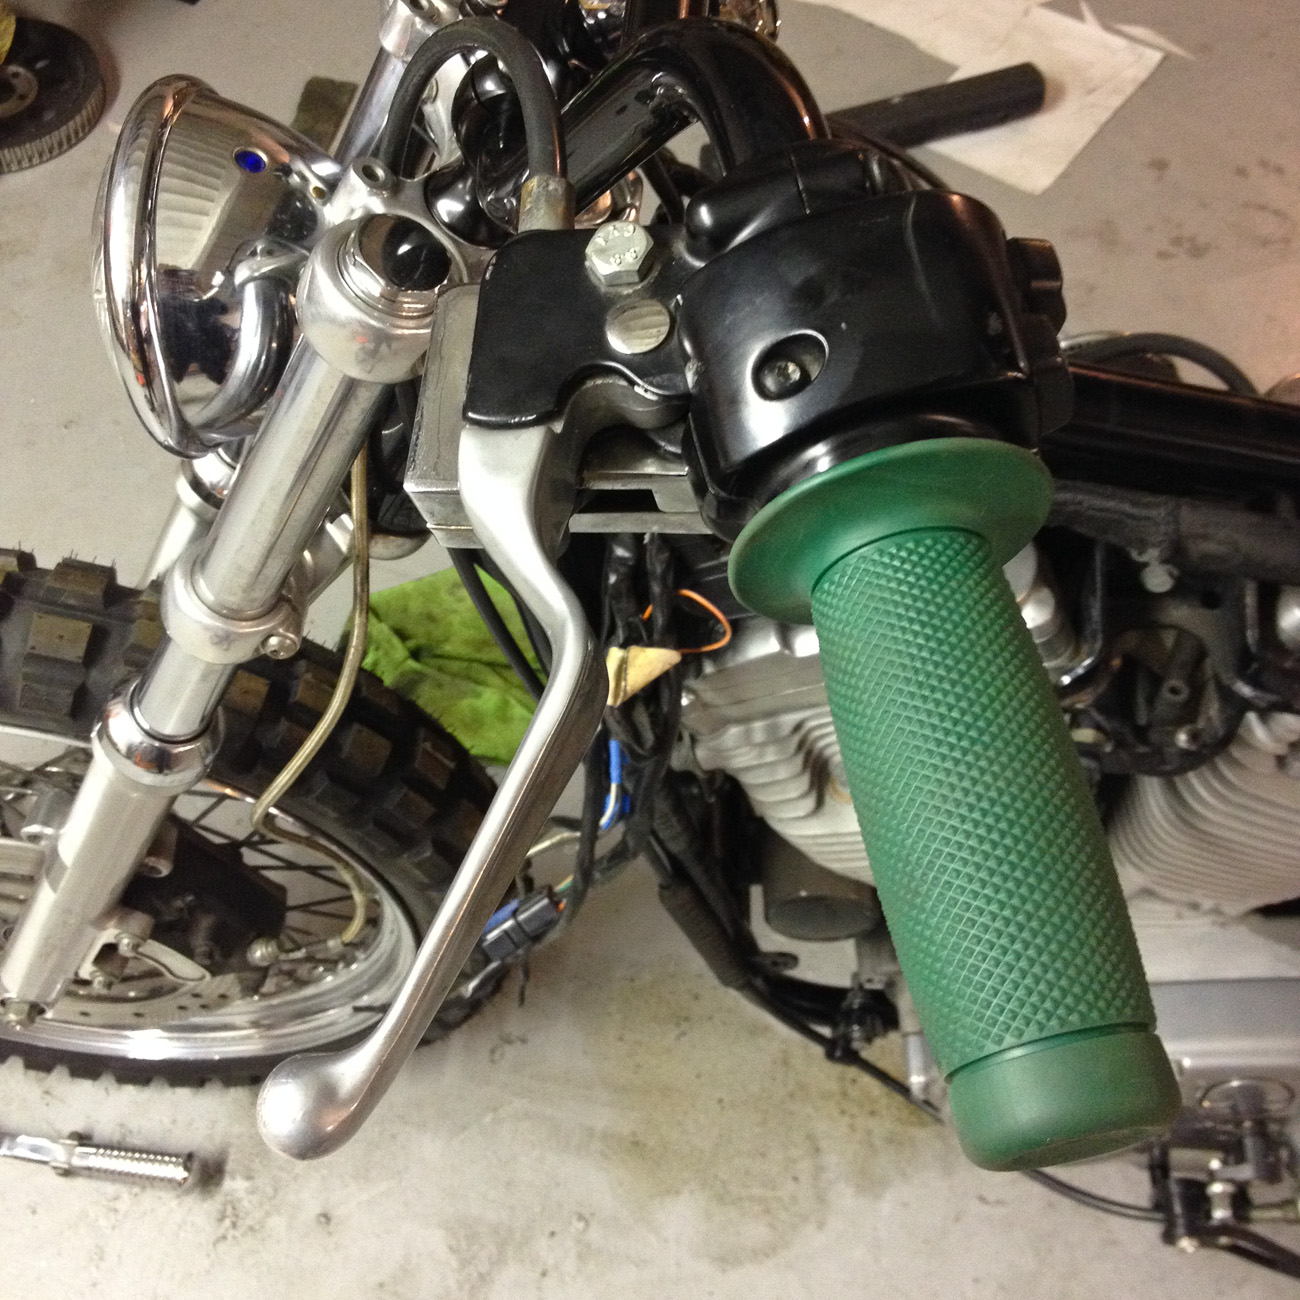
I removed the factory connectors and ran the wires through the bars, tucked the clutch and brake cables away proper, and ta daaaa it looks so much better already.
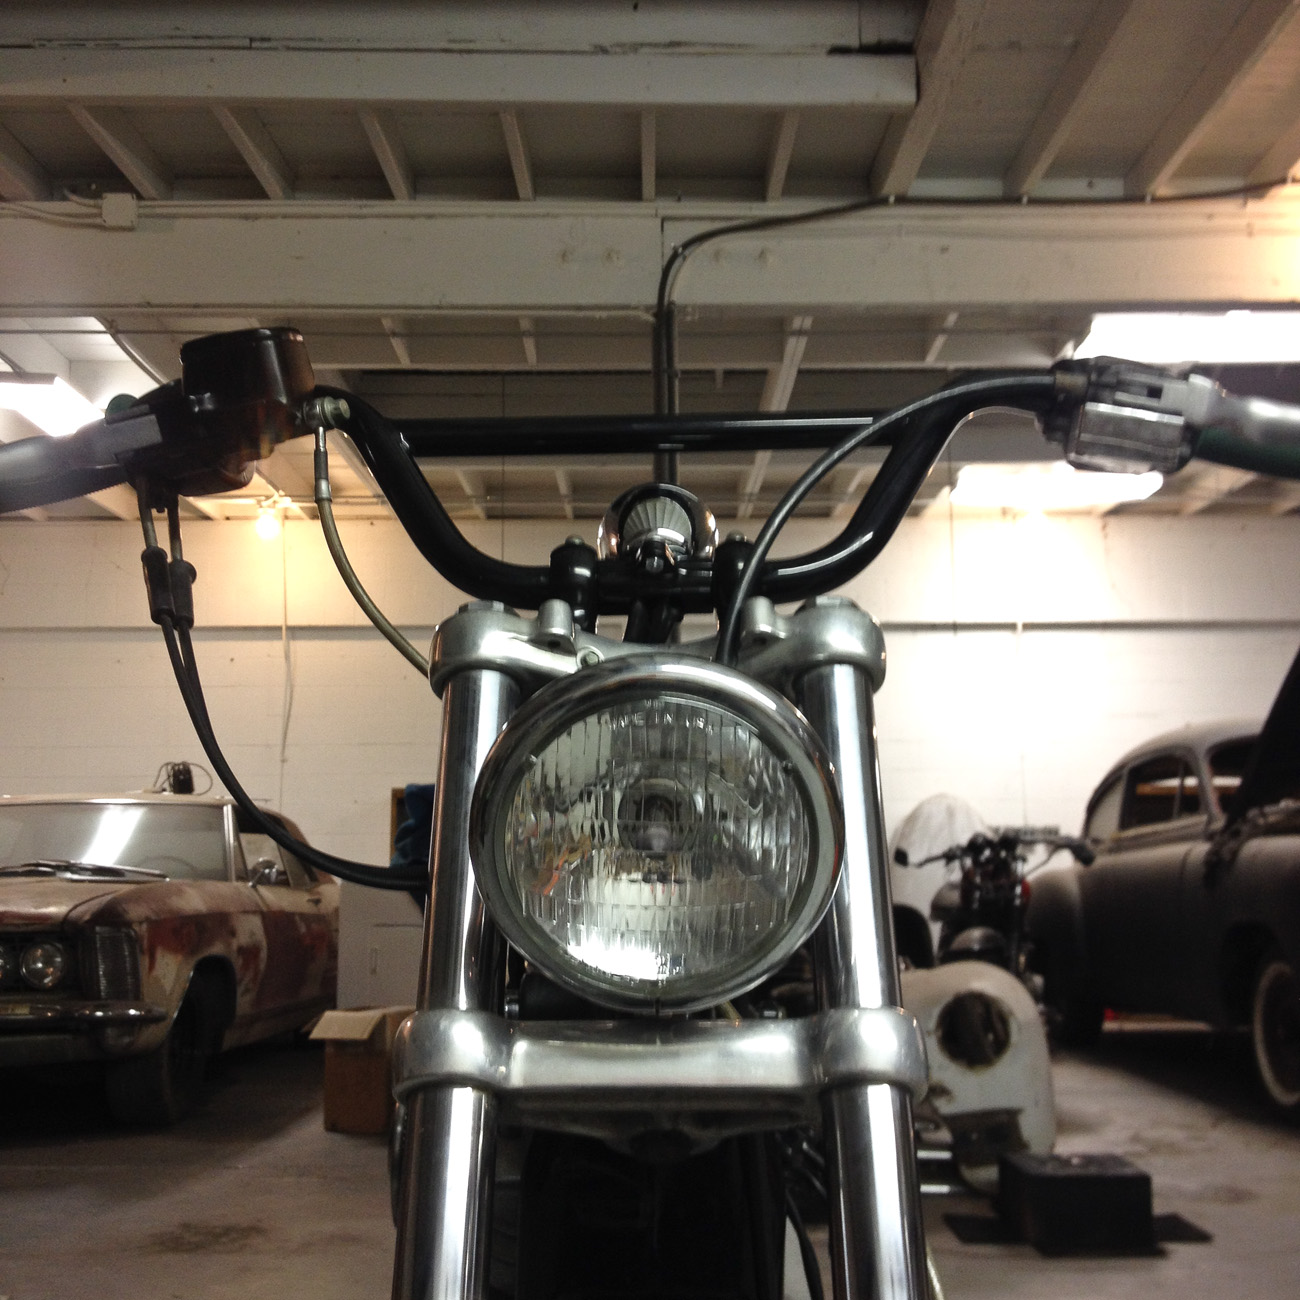
Put on the Biltwell Renegade grips that match the green paint job.
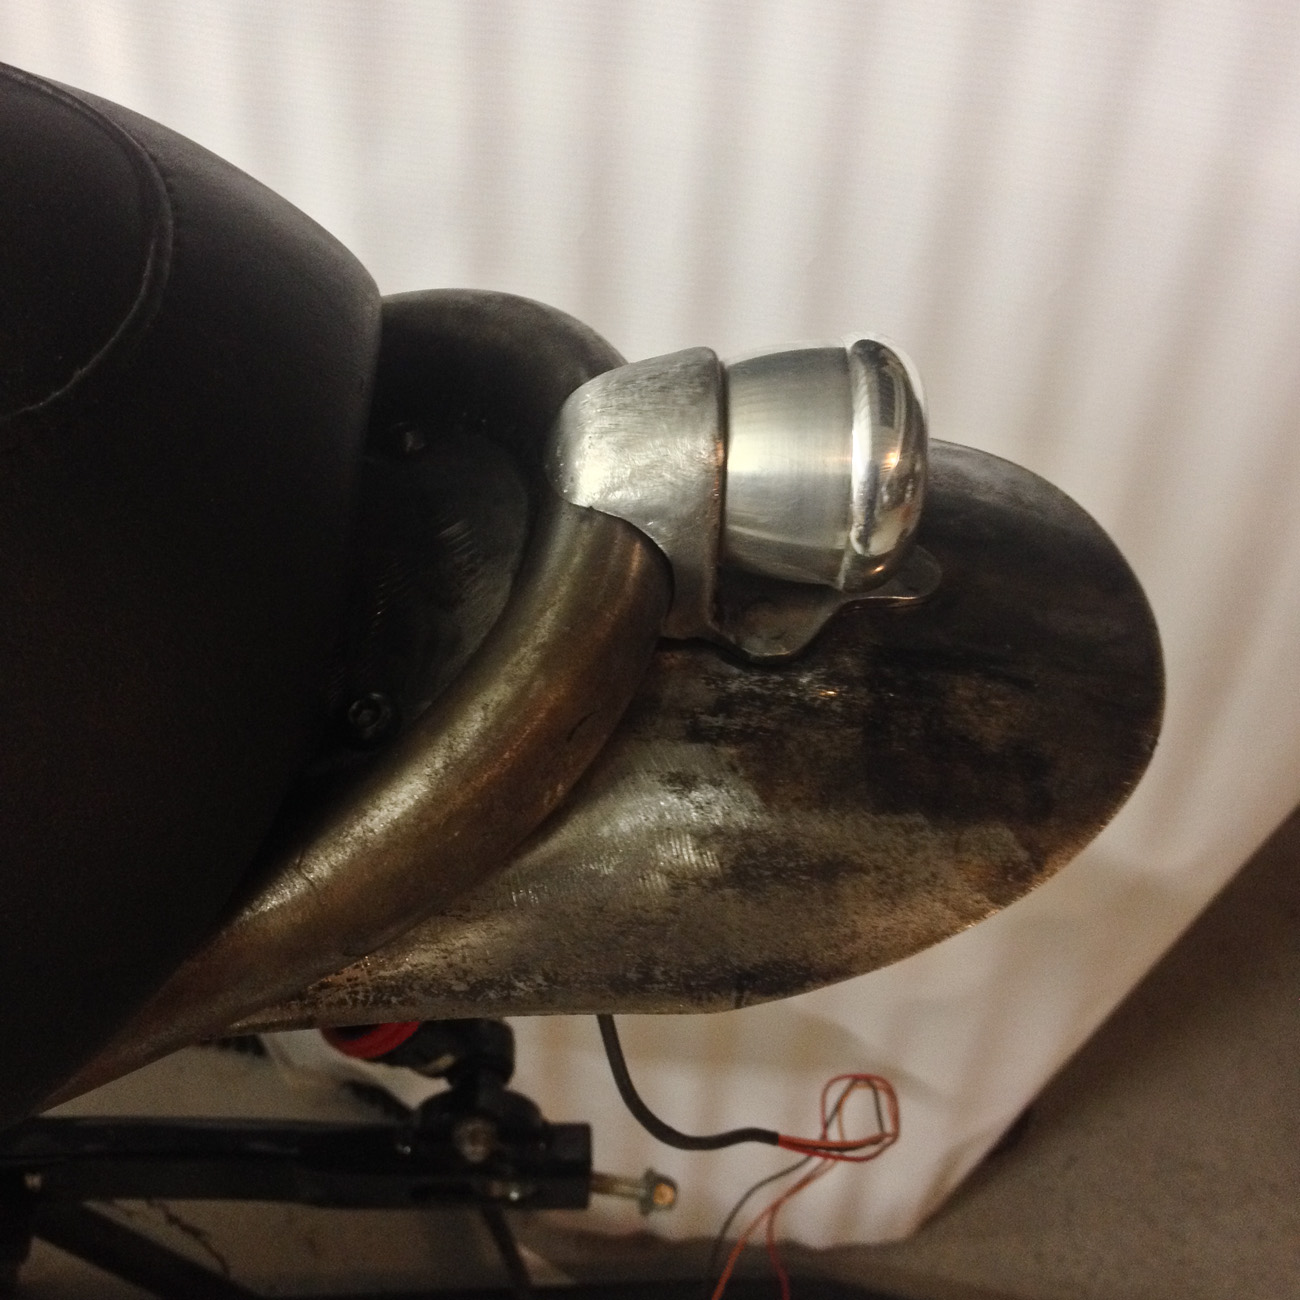
Wolf also made this nifty tail light bracket for the Boyle Custom Moto TL44 tail light. We wanted it to sit on the fender, against the frame hoop, but not stick out and look silly.
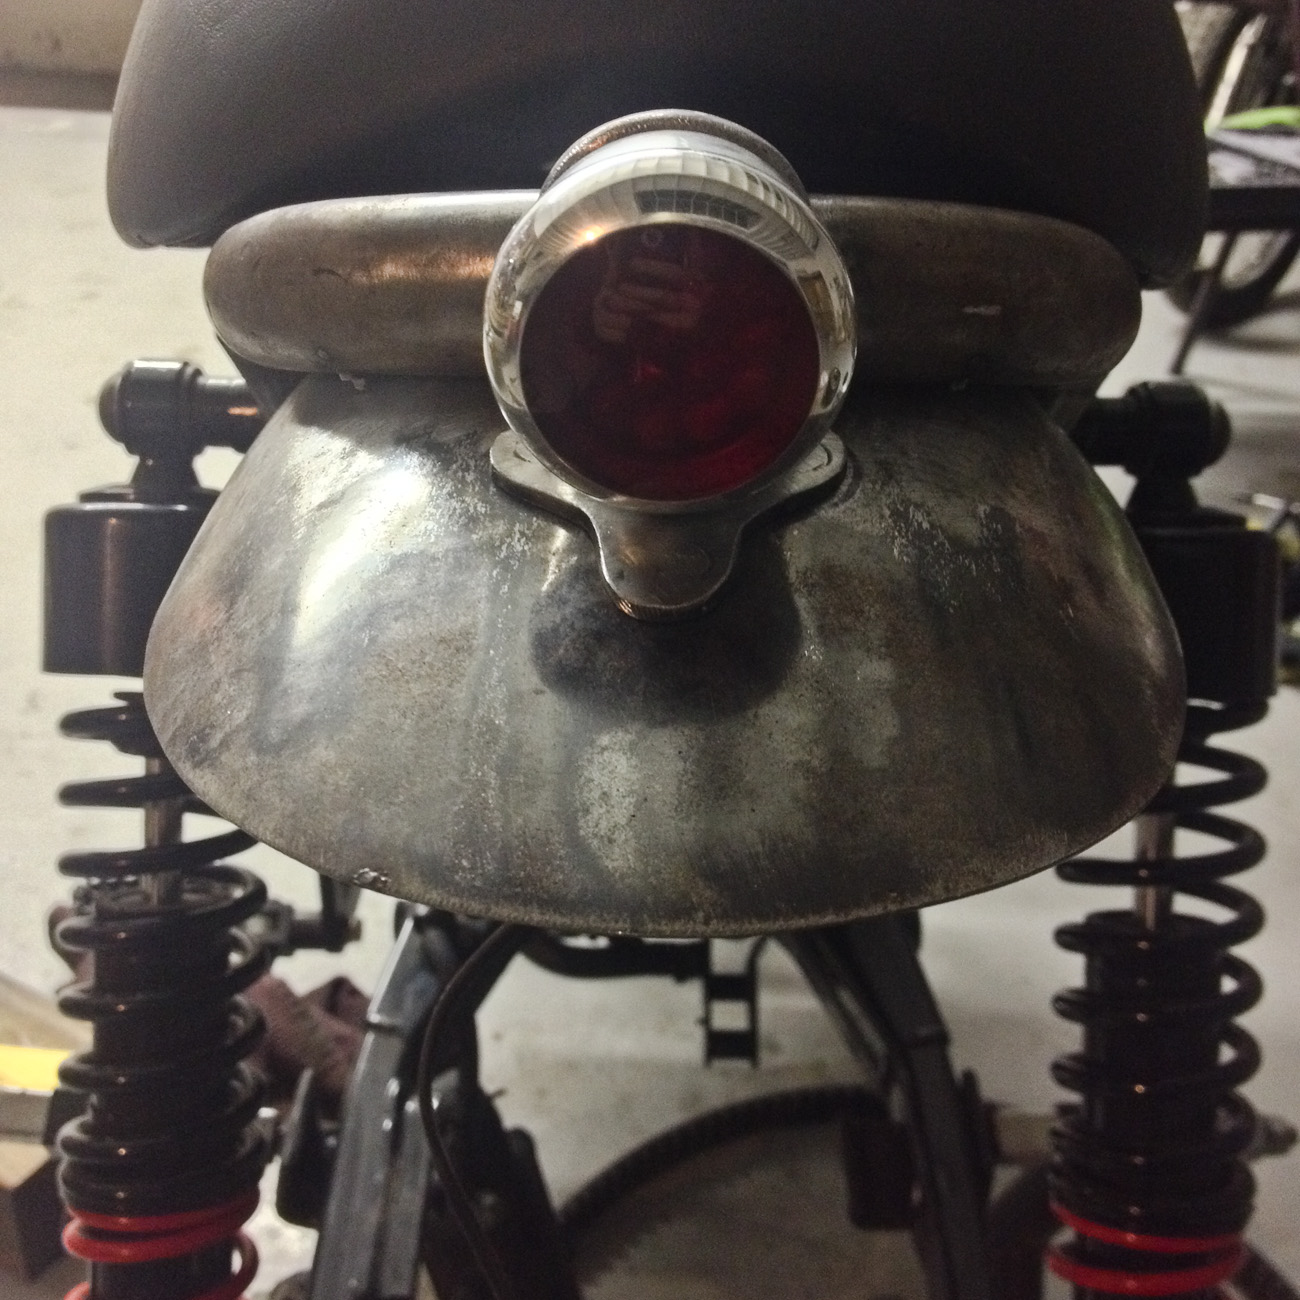
Now it sits nice and pretty.
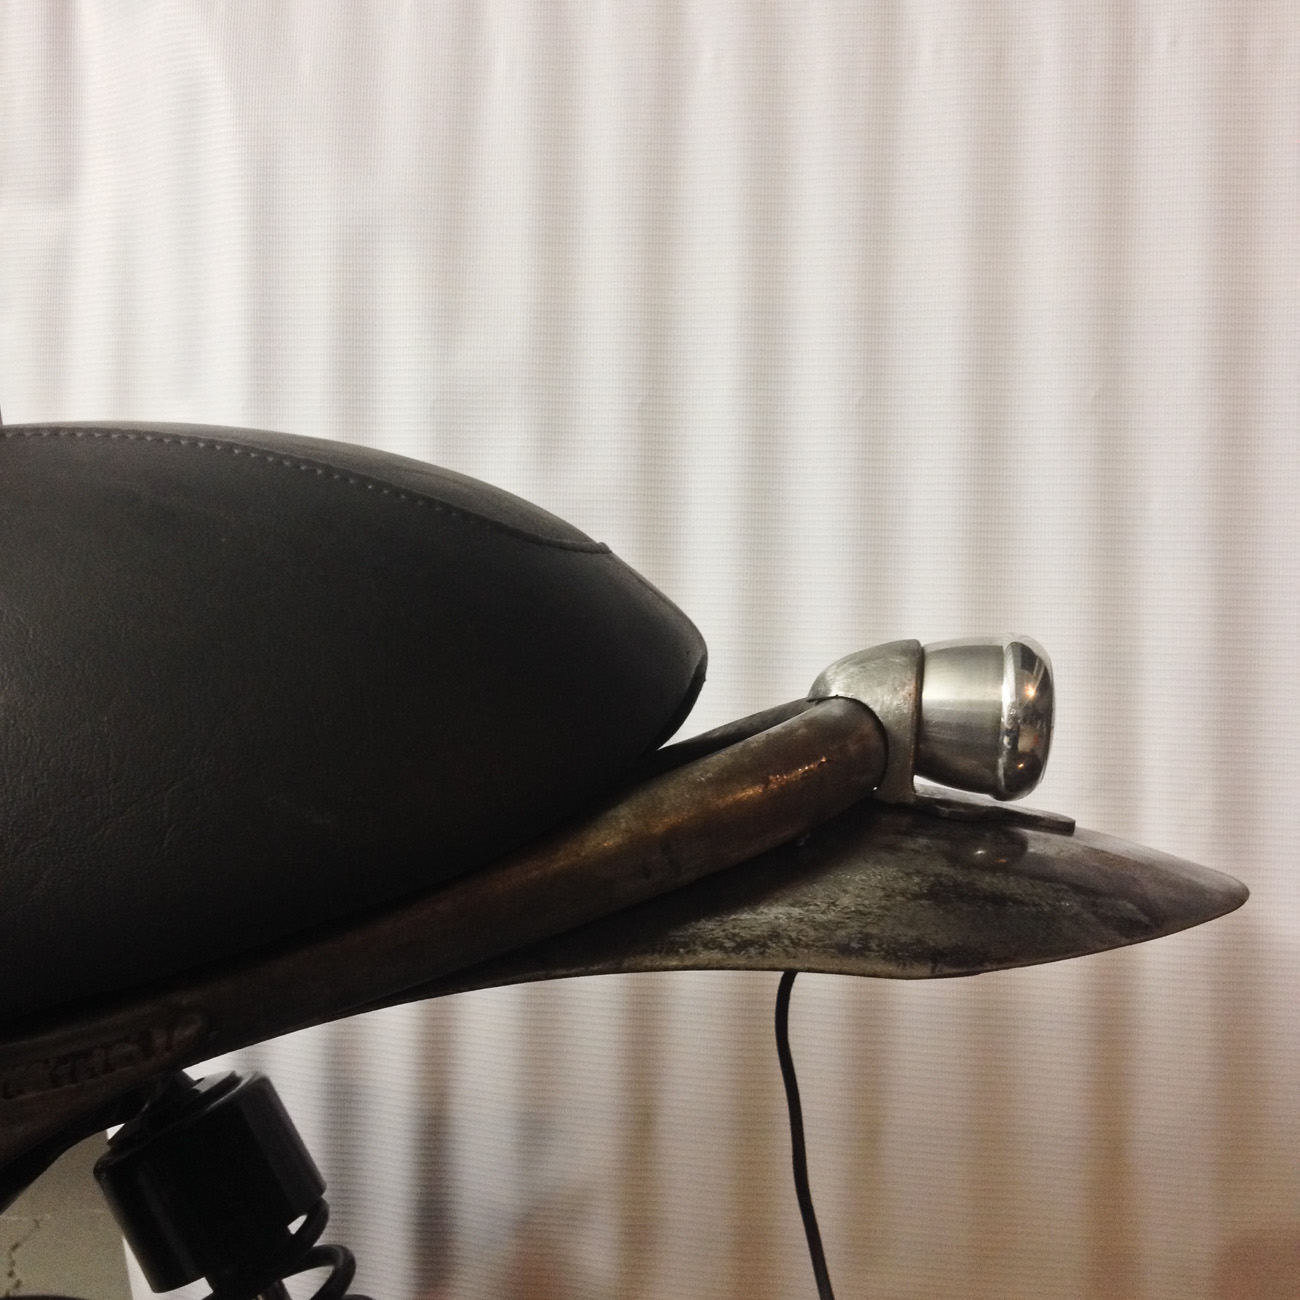
It’ll be painted black to match the frame, but the tail light will keep it’s nice brushed metal and chrome finish.
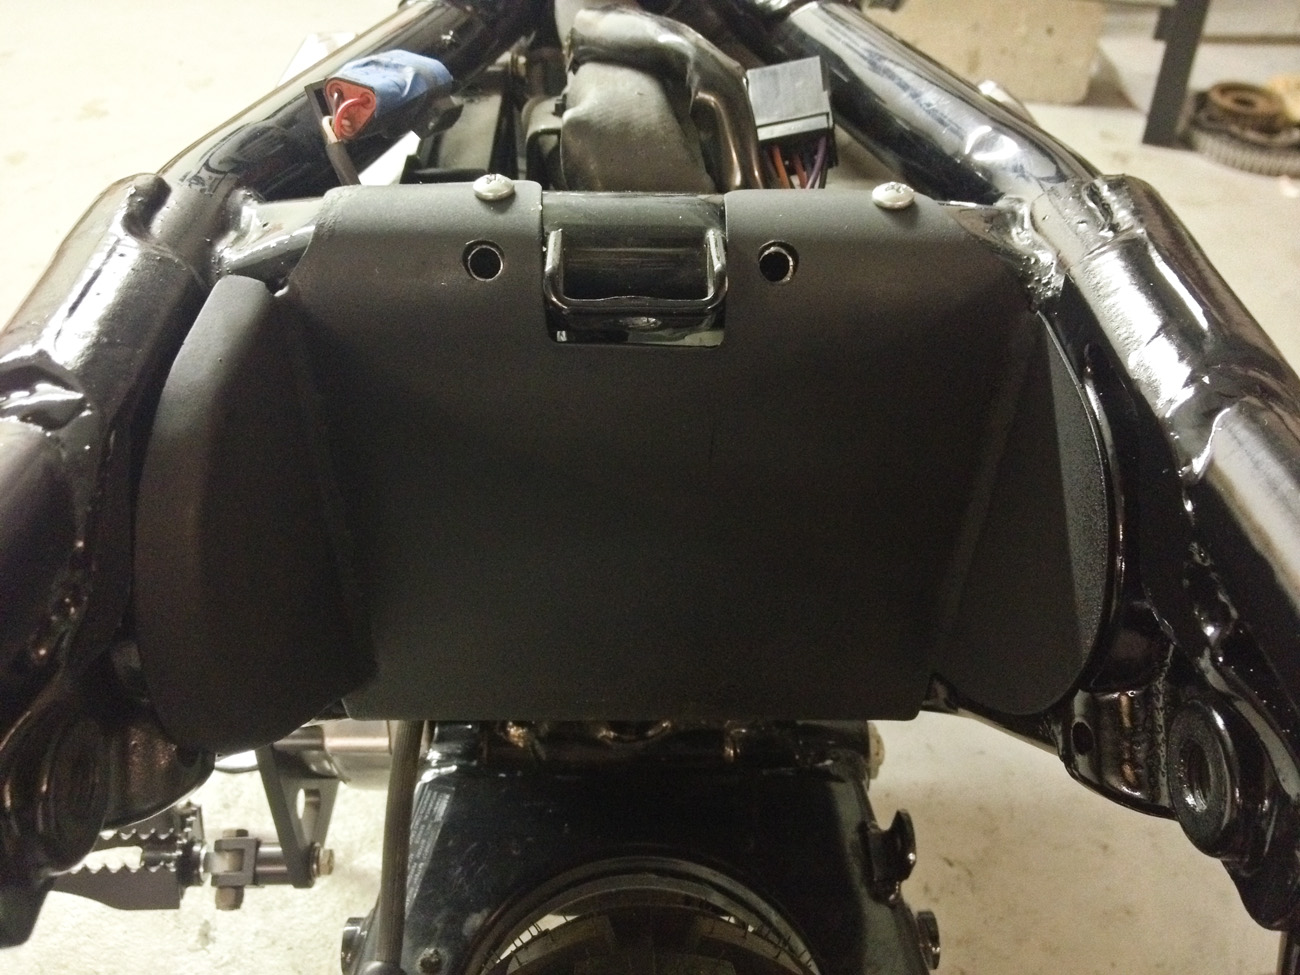
One of the last, more important fabrication projects was creating an inner mud guard to protect the engine, wiring, and internal bits. Wolf doesn’t like me taking photos of all his processes, but he made templates, cut out individual pieces, welded them together, ground it out so it was perfectly flat, and then wrapped the edges around the frame.
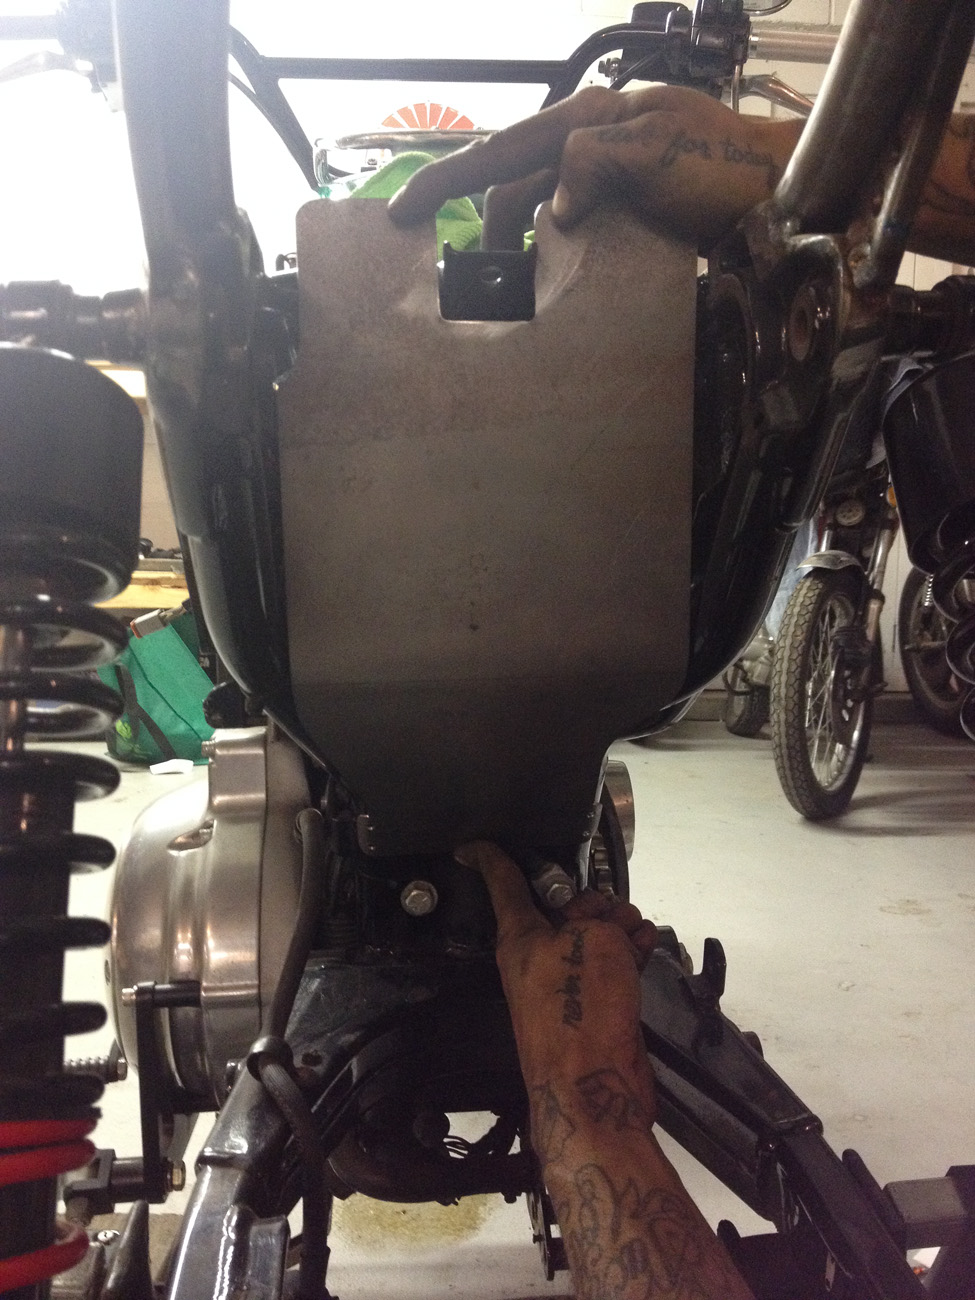
Once finished, we used undercoating to give it a durable matte finish and it looks almost factory. I say almost because honestly, the 2001 Harley Sportster models were not a work of engineering art in many aspects. Wolf did a much better job, in my opinion.
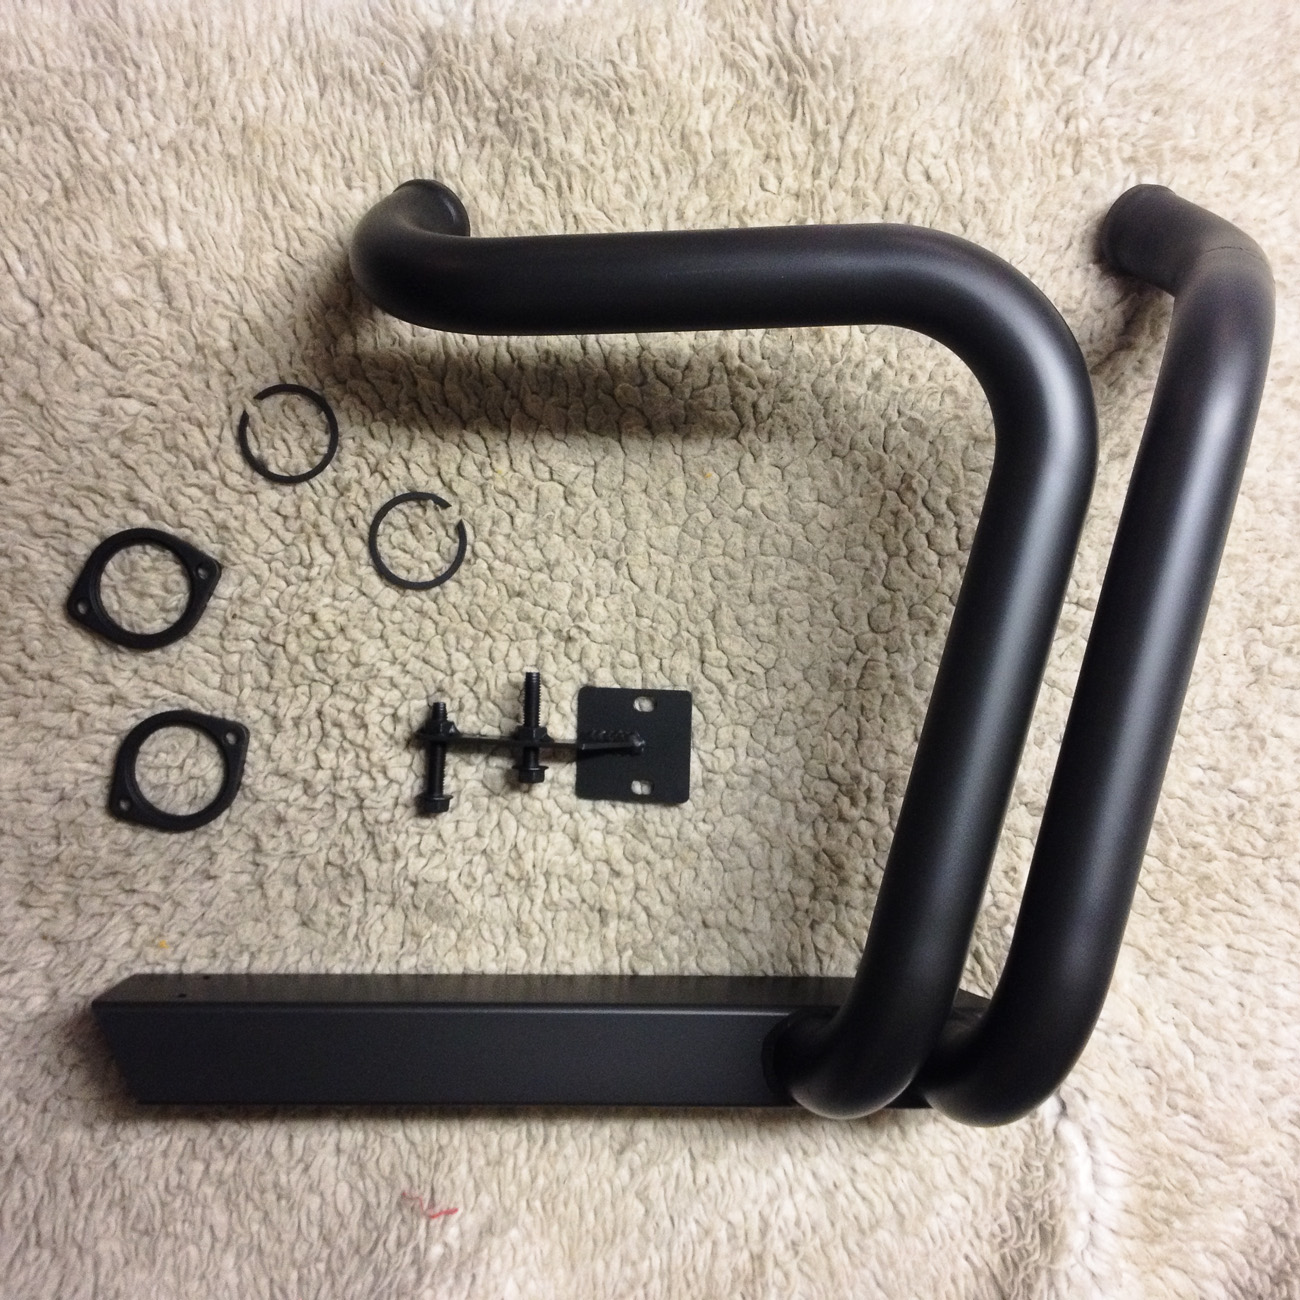
The DP Customs box exhaust headed off to get a nice black ceramic coating a couple weeks ago, all petinaed and whatnot. It came back looking oh so fresh.

Even the brackets, flanges, circlips and bolts got a nice black ceramic coating thans to the Polishing Shop in Oxnard!
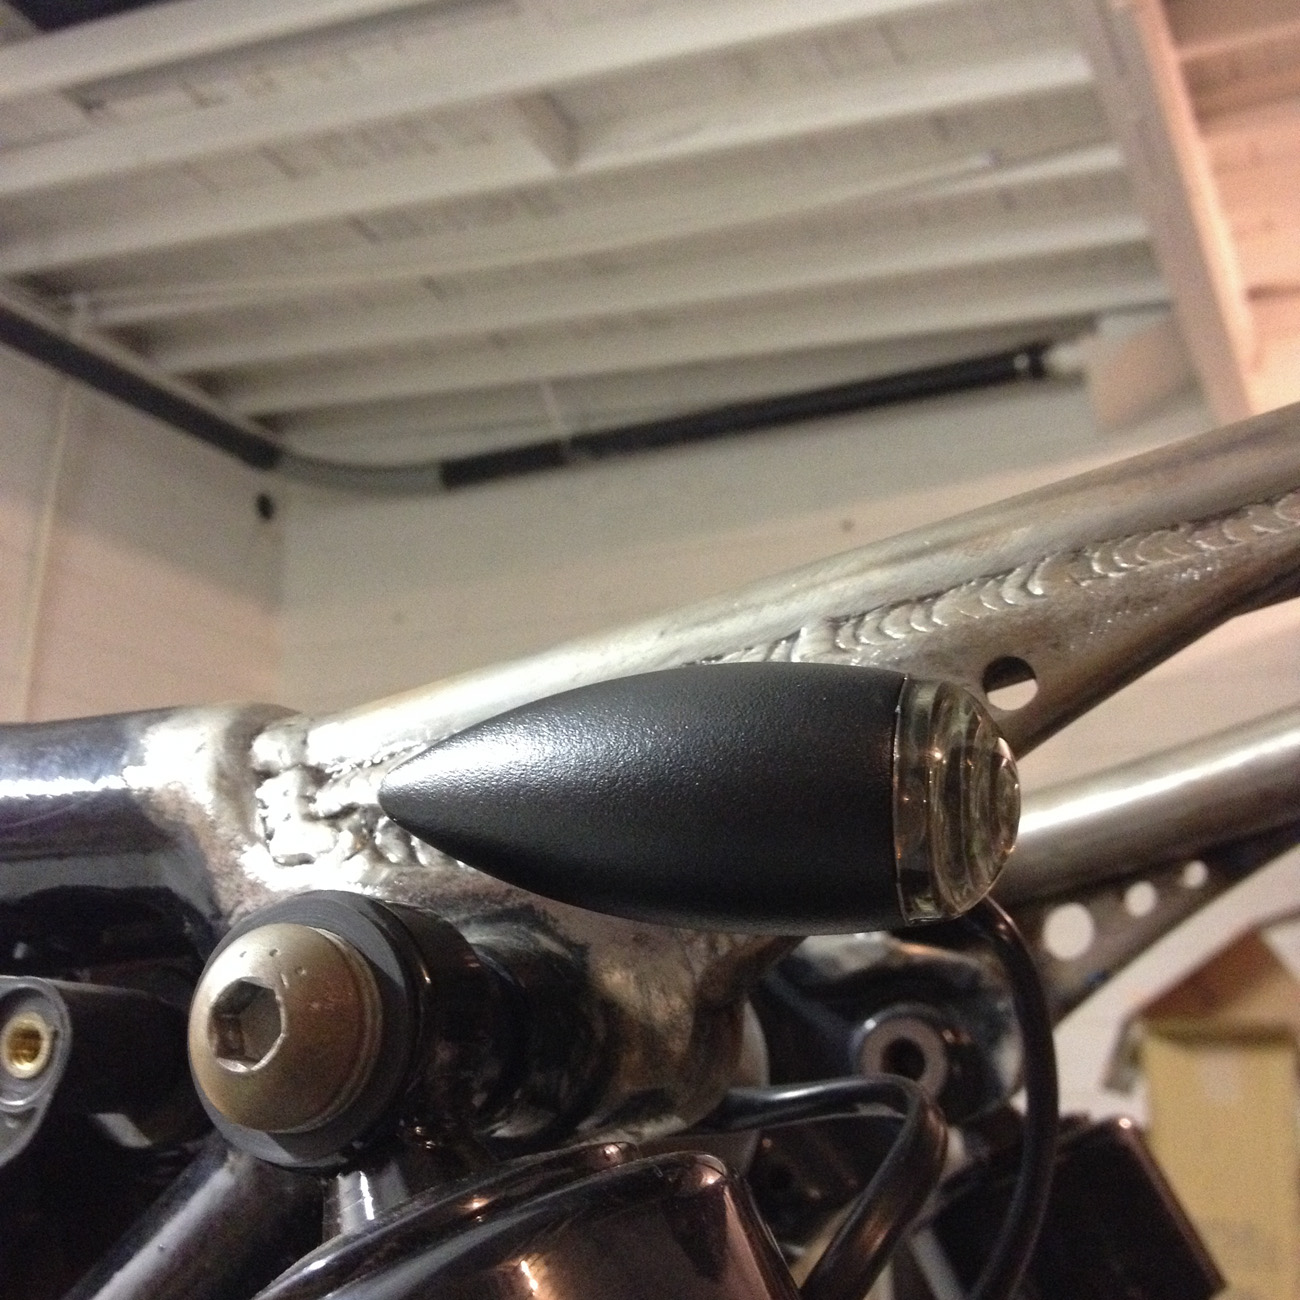
I found random bullet blinkers on ebay which I’ll be using on both the front and back of the bike. I’d have prefered to leave signals completely off this build, but these are better than some alternative new-wave looking options.
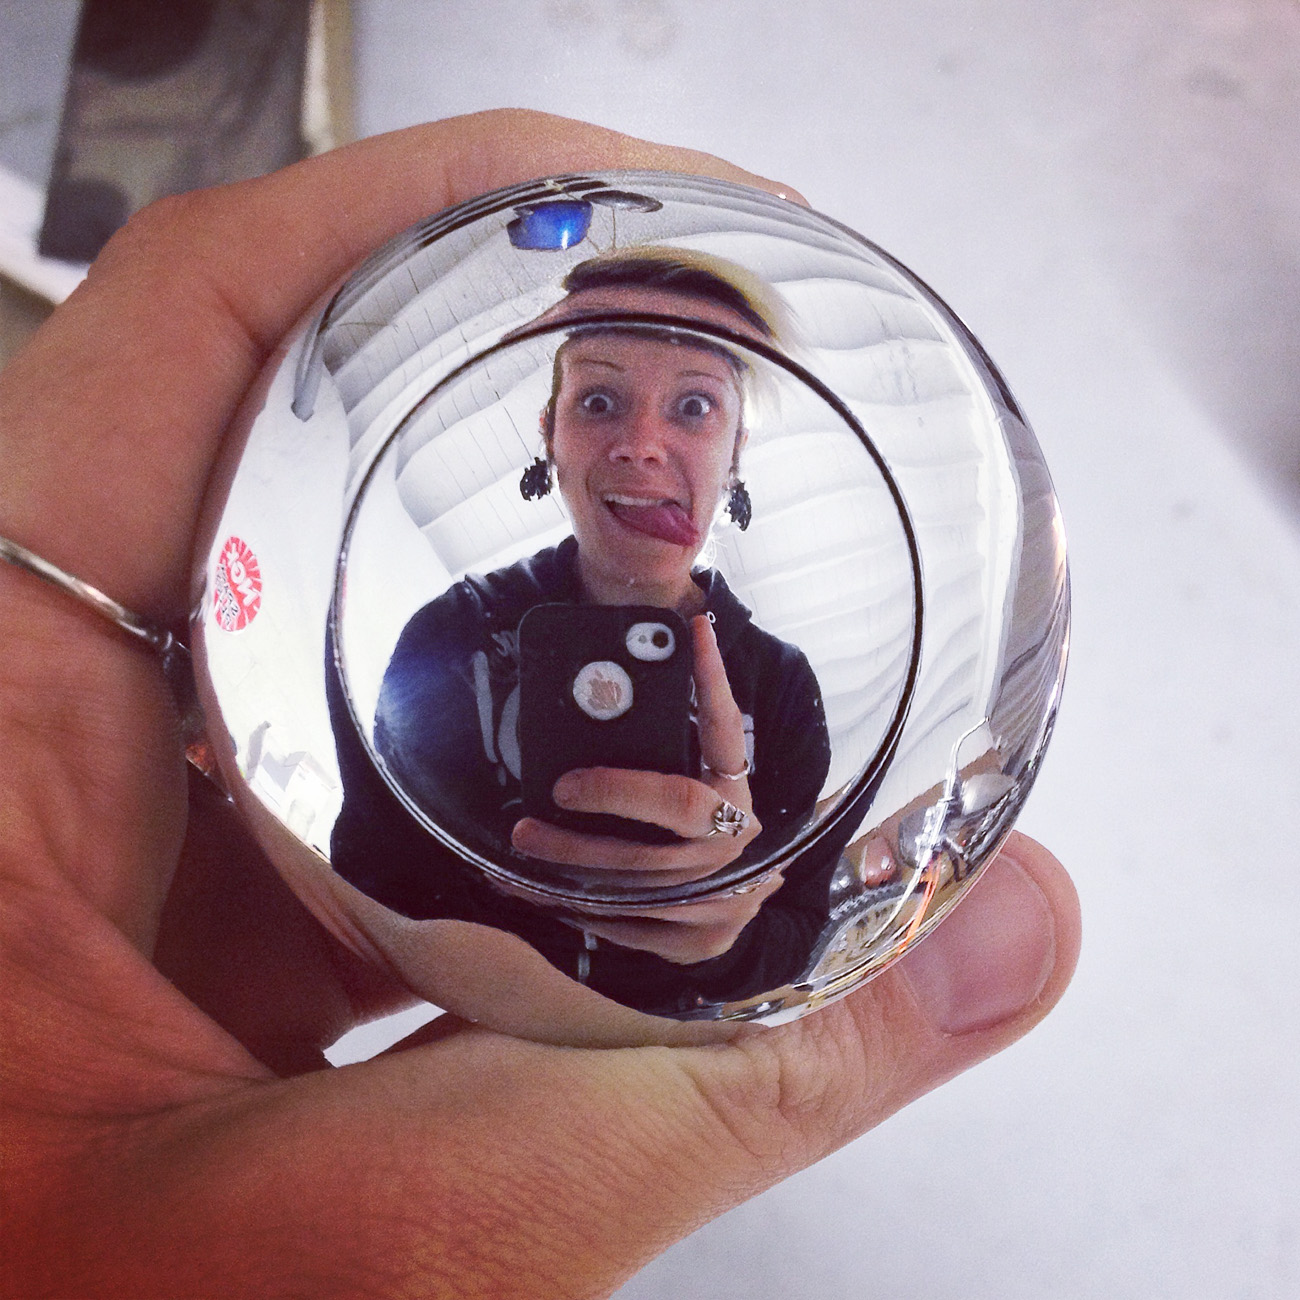
A random little detail I’m really excited about is this flush-mount pop-up chrome gas cap. While generally I would choose black finishes over chrome any day, this will look much better with the chrome tank rack, headlight bucket, speedo, and other shiny bits.
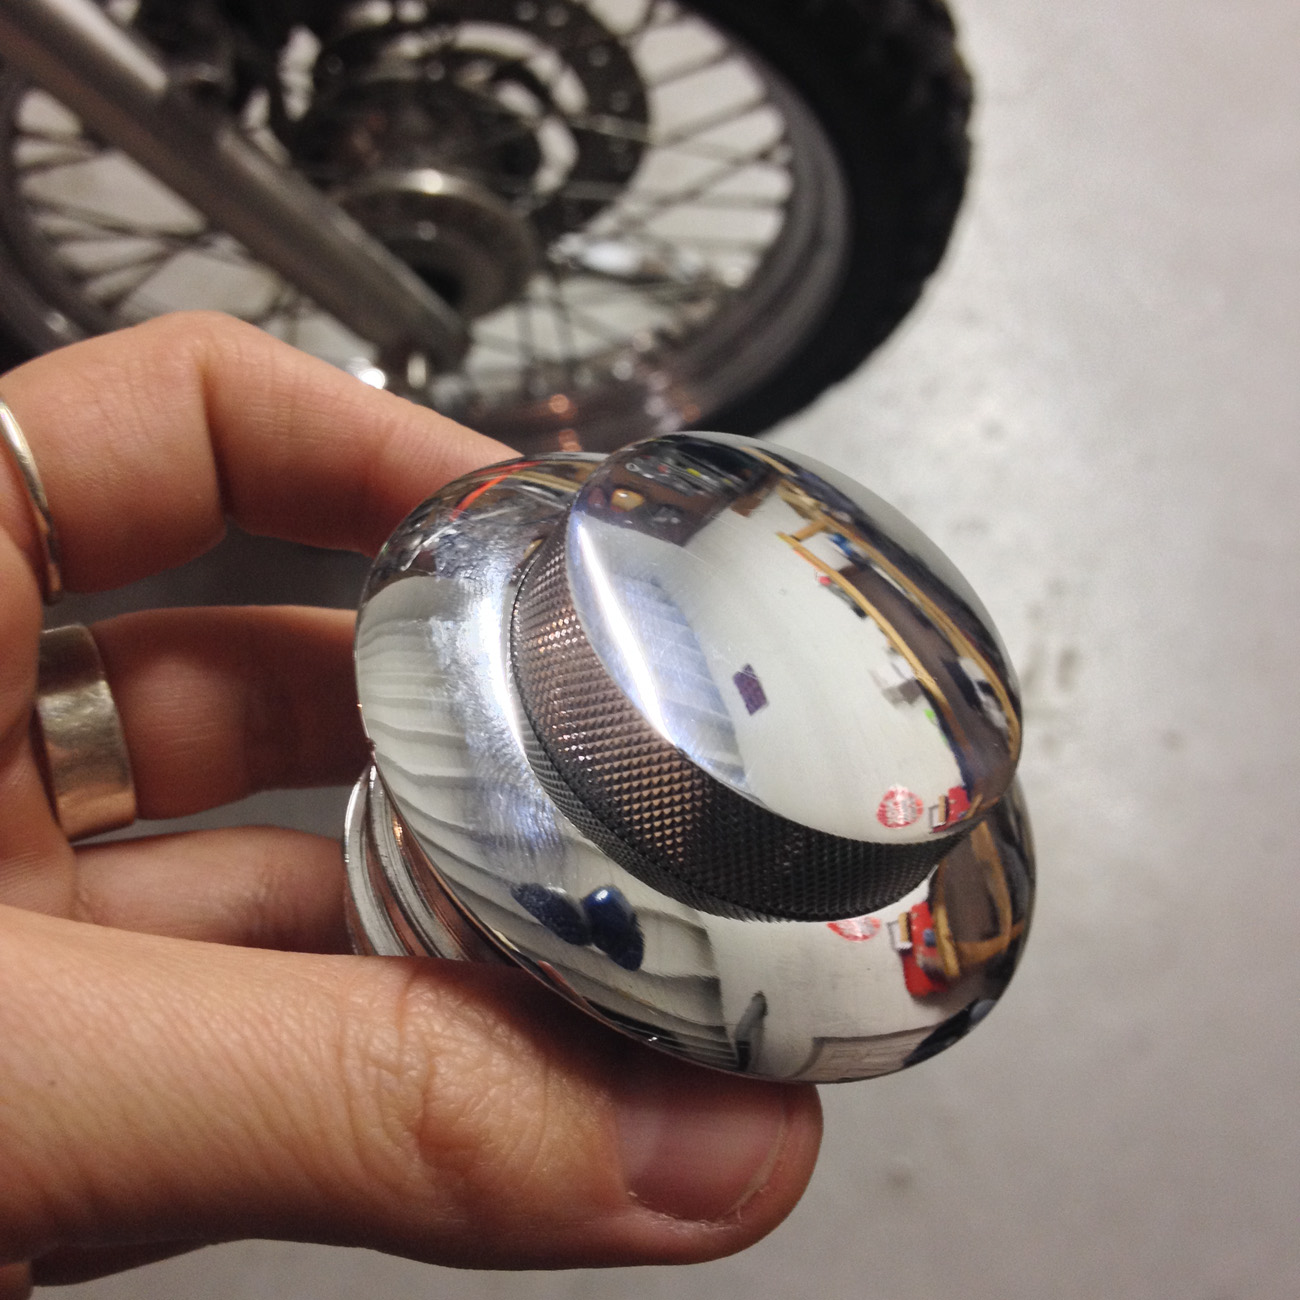
I find the design pretty fantastic in it’s simplicity. Sits flush, pops up for a grabbing surface.
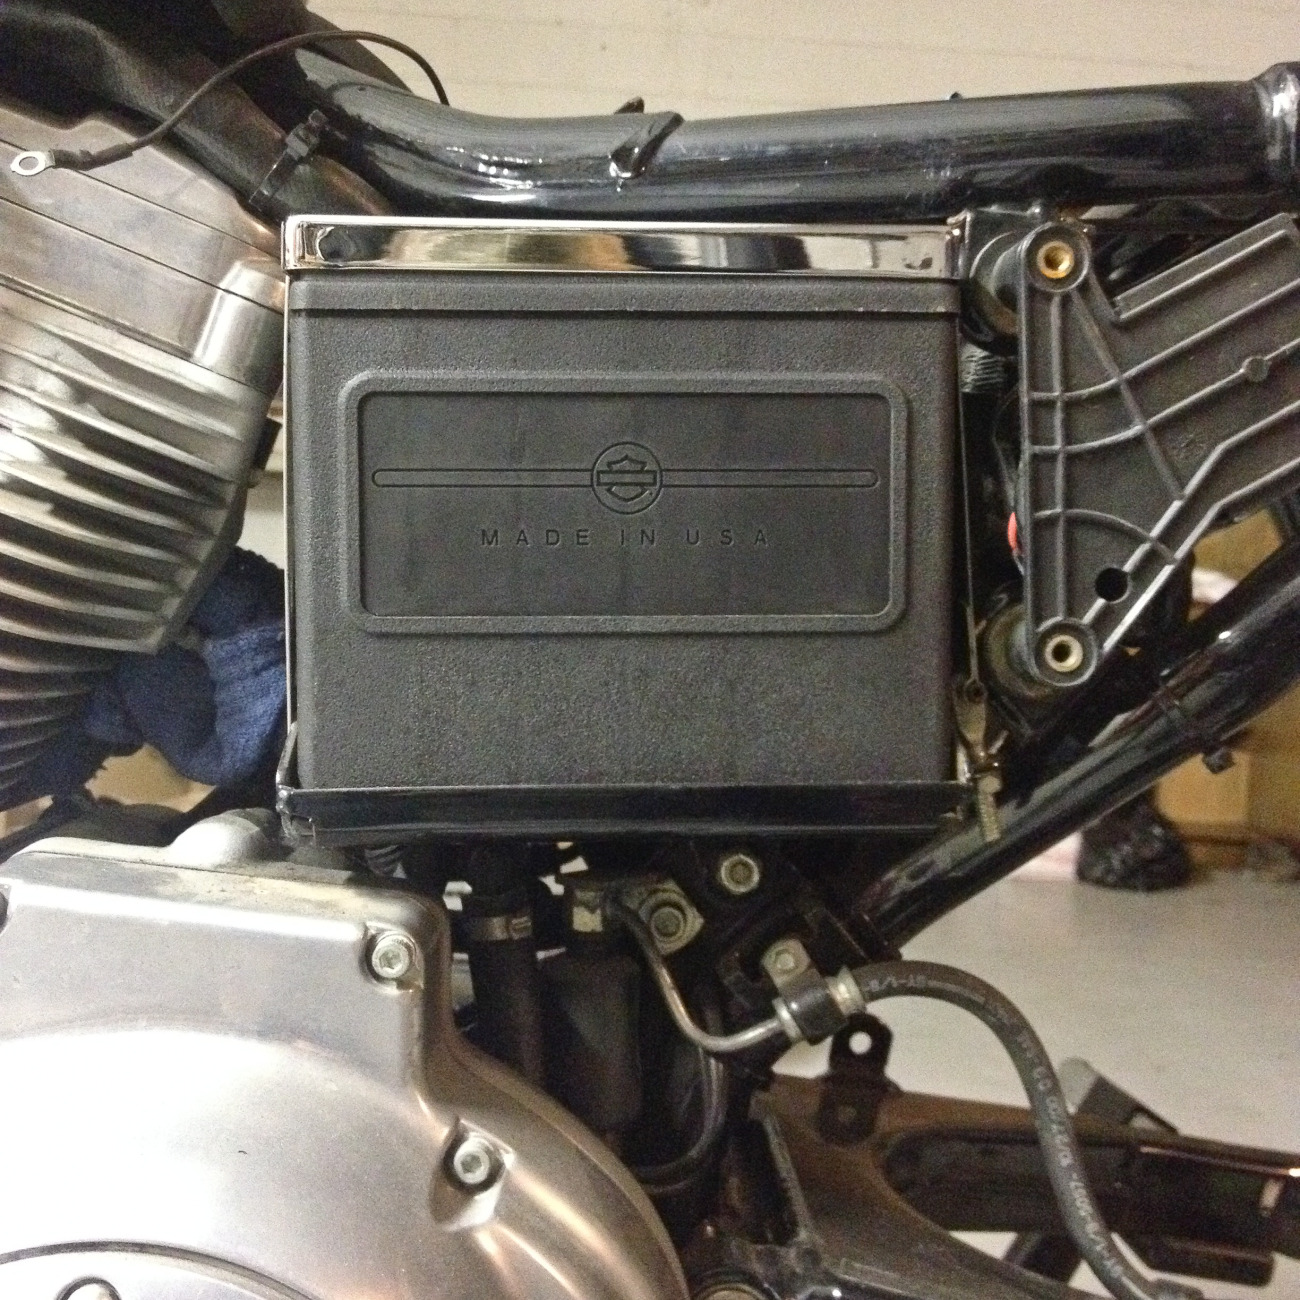
A quick and simple fix for the ugly uber-chrome battery box is simply remove the chrome cover but leave the top.
I’m seeing the light at the end of the tunnel with this bike, we’re putting the final touches on most every last piece of the project. Wolf has started his magical pinstriping treatment, of which I’ll only give you a preview right now. Don’t be alarmed by the lack of it’s beautiful shine- the paint was all wet sanded for paint, then it’ll get another coat of clear to seal in the silver leafing.
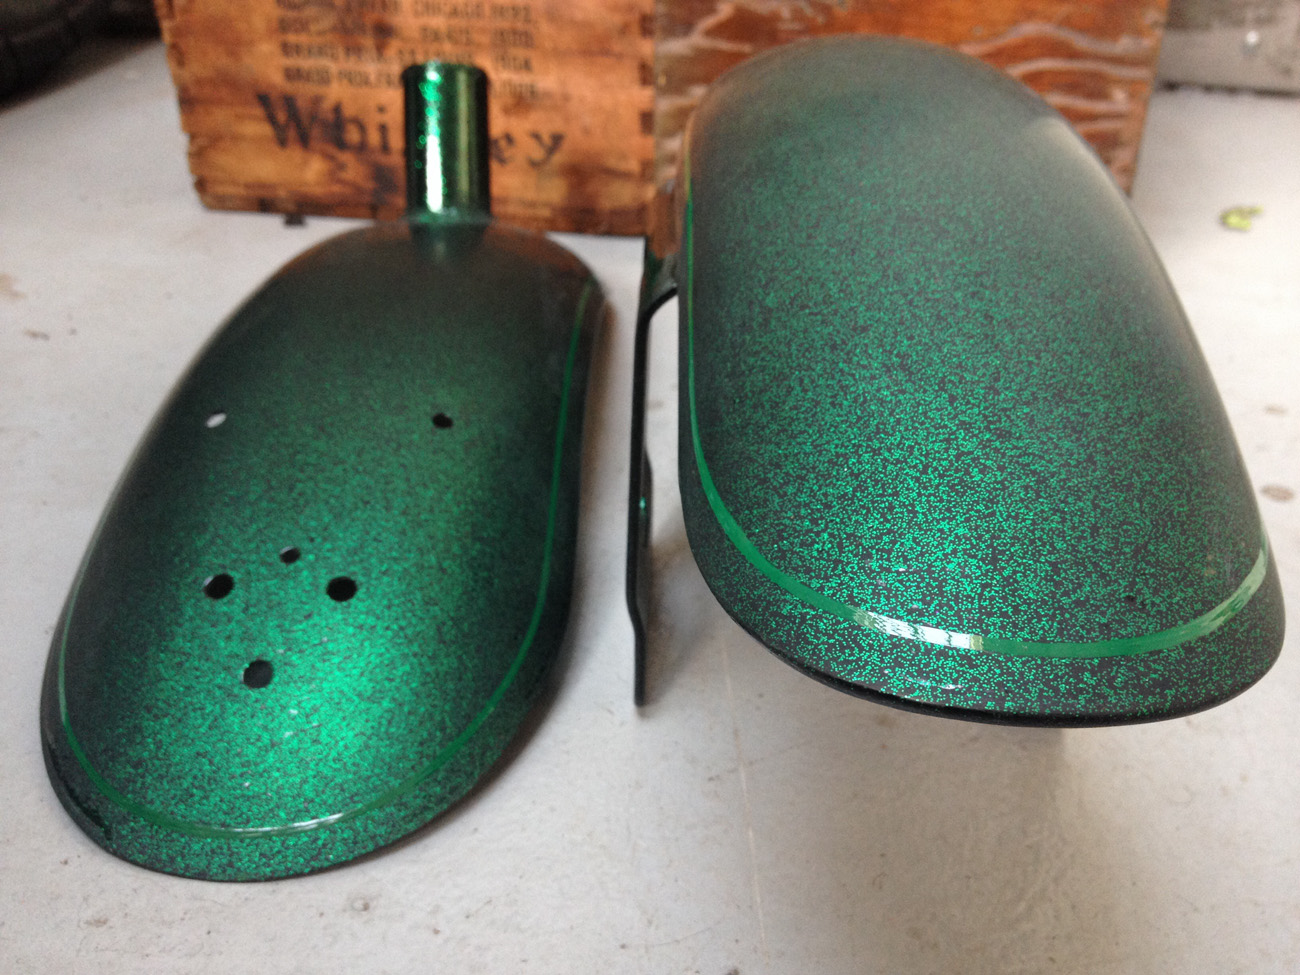
Inside the panel below will sit BLONDEZILLA. Just you wait.
Alright, that’s all for now. Stay tuned for all the exciting last details- I post behind the scenes process photos to instagram and facebook.

Mary McGee is a pioneer in American motorcycle racing, thanks to her untamable determination and a spirit as warm as her smile. Her excitement for motorcycling, especially racing, is contagious even in her eighties. She was the first woman to receive an FIM racing license in the United States, first woman to complete the Baja 1000, and the first woman to race the Baja 500 solo. These aren’t her only firsts, either. She was also the first woman in motocross and road racing in the States. McGee was rightly inducted into the AMA Hall of Fame in 2018.
Tags: blog, burly brand, custom, dual sporty project, harley davidson, jeff wolf, motolady makeover, motorcycle, motorcycles, sportster, wolf designs
Posted on November 19, 2014 in Blog, News & Features by Alicia Mariah Elfving


